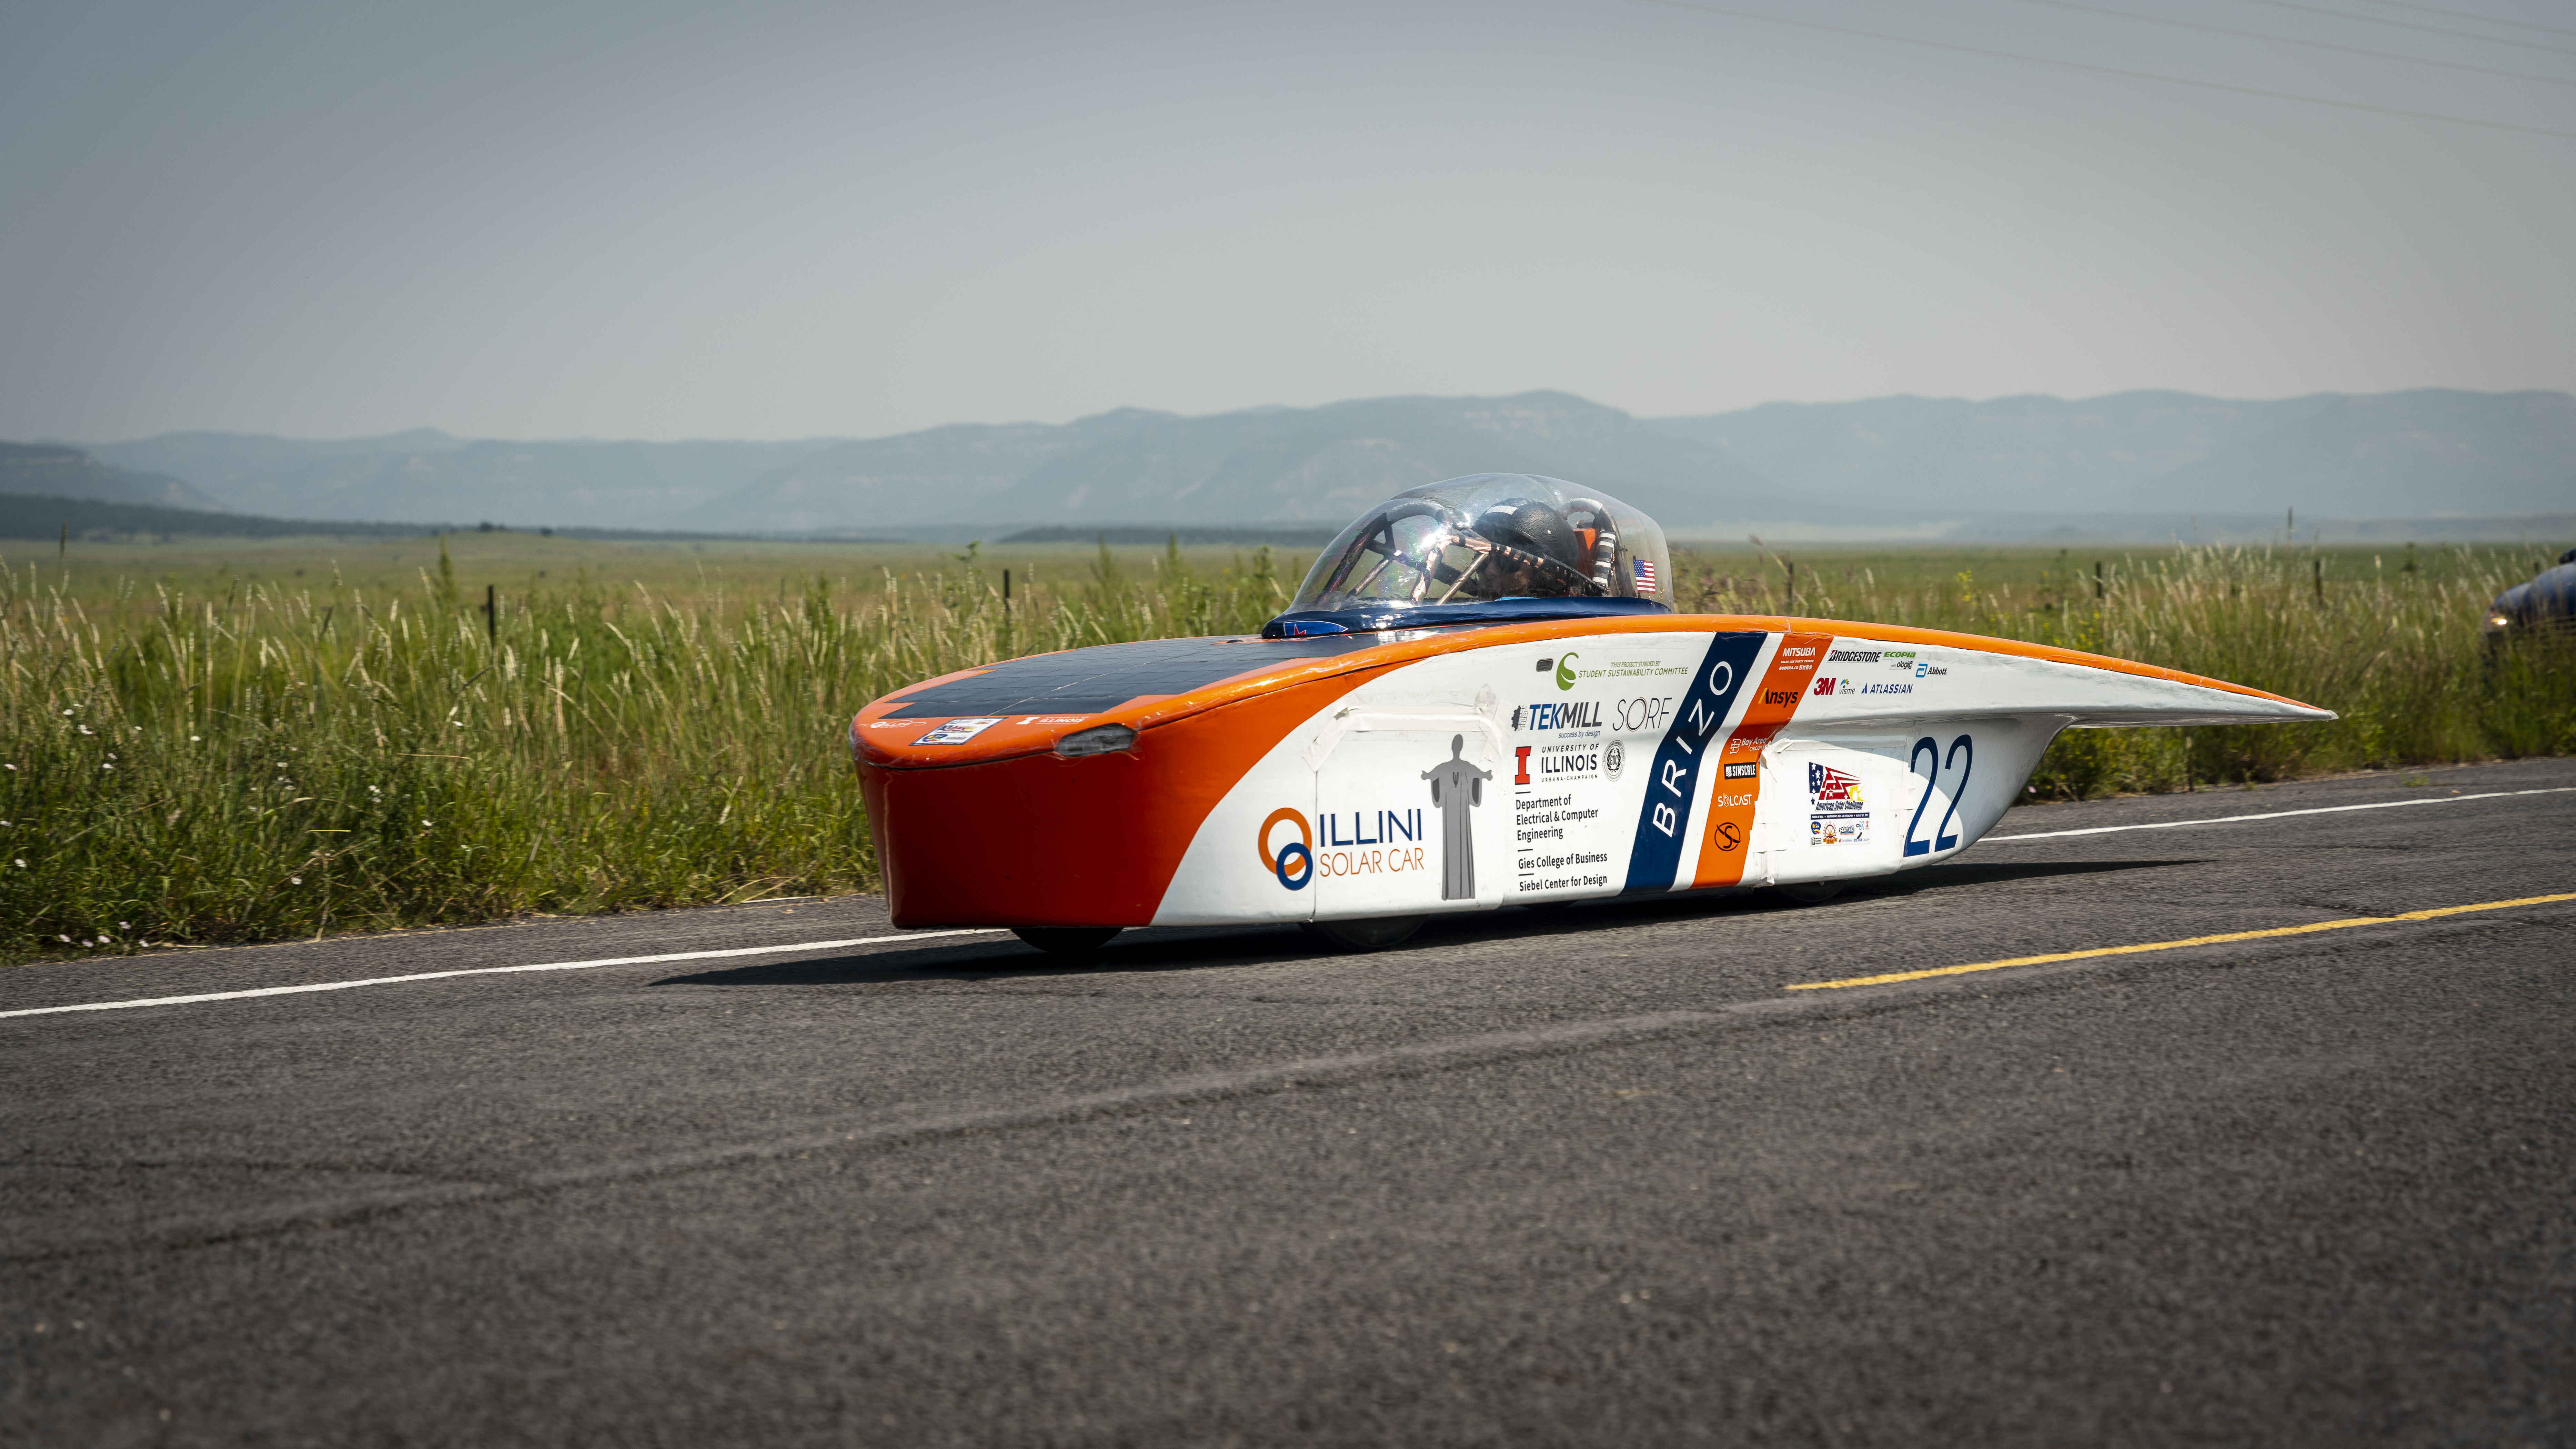

I was a part of a completely student run club through school all four years called Illini Solar Car (ISC).
Our goal was to design, build, test, and race a completely solar powered vehicle on both track and road events against other school teams.
This was the most difficult, stressful, anxiety inducing, and rewarding work I have ever done.
Working on a team of around 30 dedicated students to make an idea into reality opened my eyes to what (mostly) actual engineering was.
Working closely on a team with a specific goal in mind where many things have to happen at once for things to work out correctly highlighted
how important both technical and soft skills were in the true success of any project.
One of my key takeaways was there is no such thing as magic, if something looked great and worked great, lots of hard work was put into it.
As of 2023 ISC has completed 2 cars and is working on the 3rd. The first car, completed in 2017, is named Argo and it has competed in 3 races
(WSC 2017, ASC 2018, FSGP 2019).
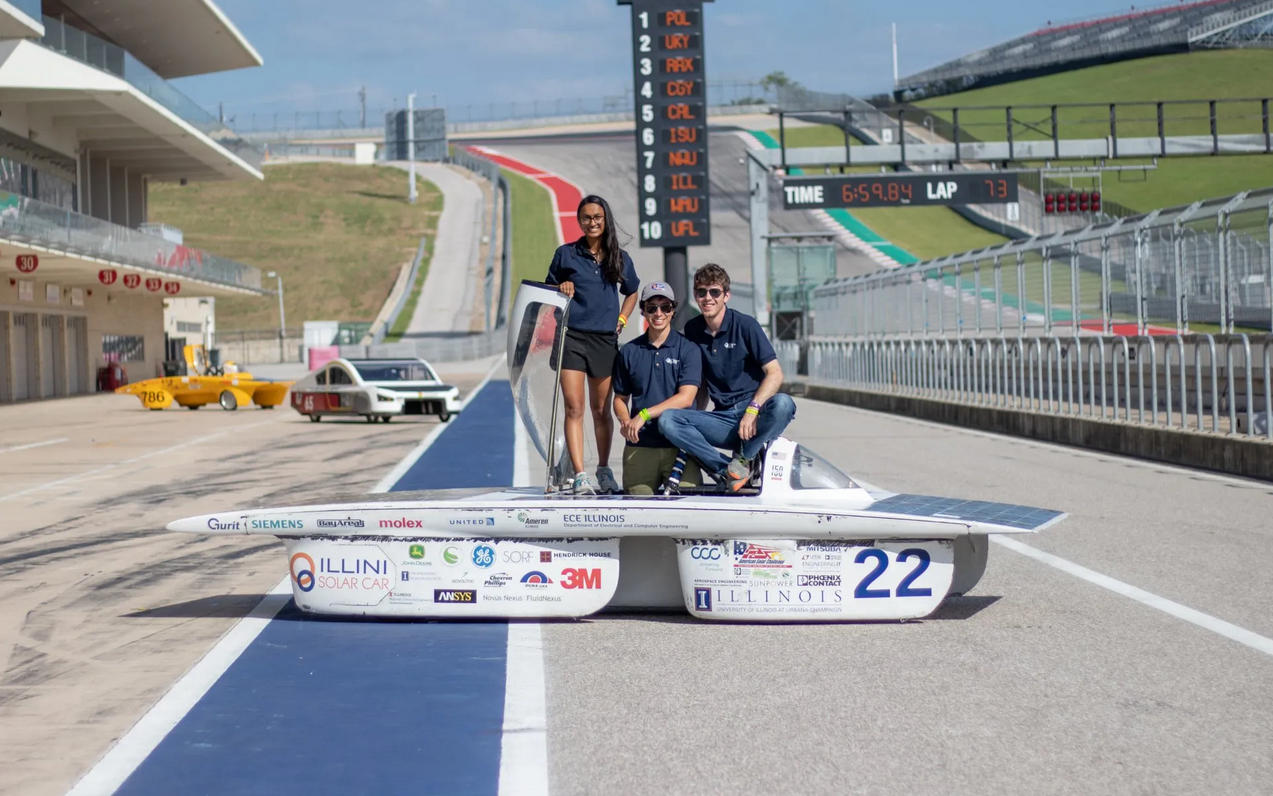
The second car, completed in 2021, is named Brizo and has competed
in 2 races (ASC 2021, ASC 2022). WSC is short for World Solar Challenge, ASC is American Solar Challenge, and FSGP is
Formula Sun Grand Prix. These are some of the races that occur in the US and worldwide, usually with alternating years to avoid overlap. Notably, WSC is the most prestigious race and occurs in Australia. This race is a 3000 km drive through the outback! Check out their website.
Historically race/build rules for these events differ slightly, so a team building a car has to have one of the races in focus as vehicle design is restricted
by these rules. The design rules change usually every race, or around 2 years, and focus on the engineering design challenges that encompasses the foundation
of the event itself. They usually change how much battery your car can have, surface area of array, physical dimensions, and LOTS of safety rules.
At the end of the day this is a competition, so you try to design for the largest advantage over your peers.
In the pictures above there is one commonality. It’s me! I was a driver for the team all four years and participated in FSGP 2019, ASC 2021, and FSGP 2022.
I want to say i’m the most decorated driver in the teams history, and I think I will. @JM you can email me and complain if you disagree.
Along with being the best driver I was the Array team lead, Treasurer, and Alumni Coordinator. Many long days, nights, blood, sweat, carbon fiber dust,
soldering fumes, and more sweat were given and taken during my time on the team. ISC would be nothing without the people that make it up and their dedication.
It turns out making complicated things is hard. The only way to do it properly in my mind is to have a team with that common goal in mind ready to design,
test, fail, learn and repeat it all over again and again.
I joined ISC my freshman year of school at University of Illinois as a way to get involved in something that was both cool and technical.
I knew I wanted to do something that dealt with alternative energy and luckily enough there were a handful of clubs that did just that.
There’s a day at the start of the new school year called Quad Day that all the clubs on campus get a spot on the quad to advertise and get new members to join.
I had looked at a few clubs like Solar Decathlon where you would design a net-zero
building then eventually build it, but the time scale seemed a bit too long for me.
I wandered over to the various car teams area and got to see a bunch of student designed and built vehicles, but they seemed more mechanical engineer oriented.
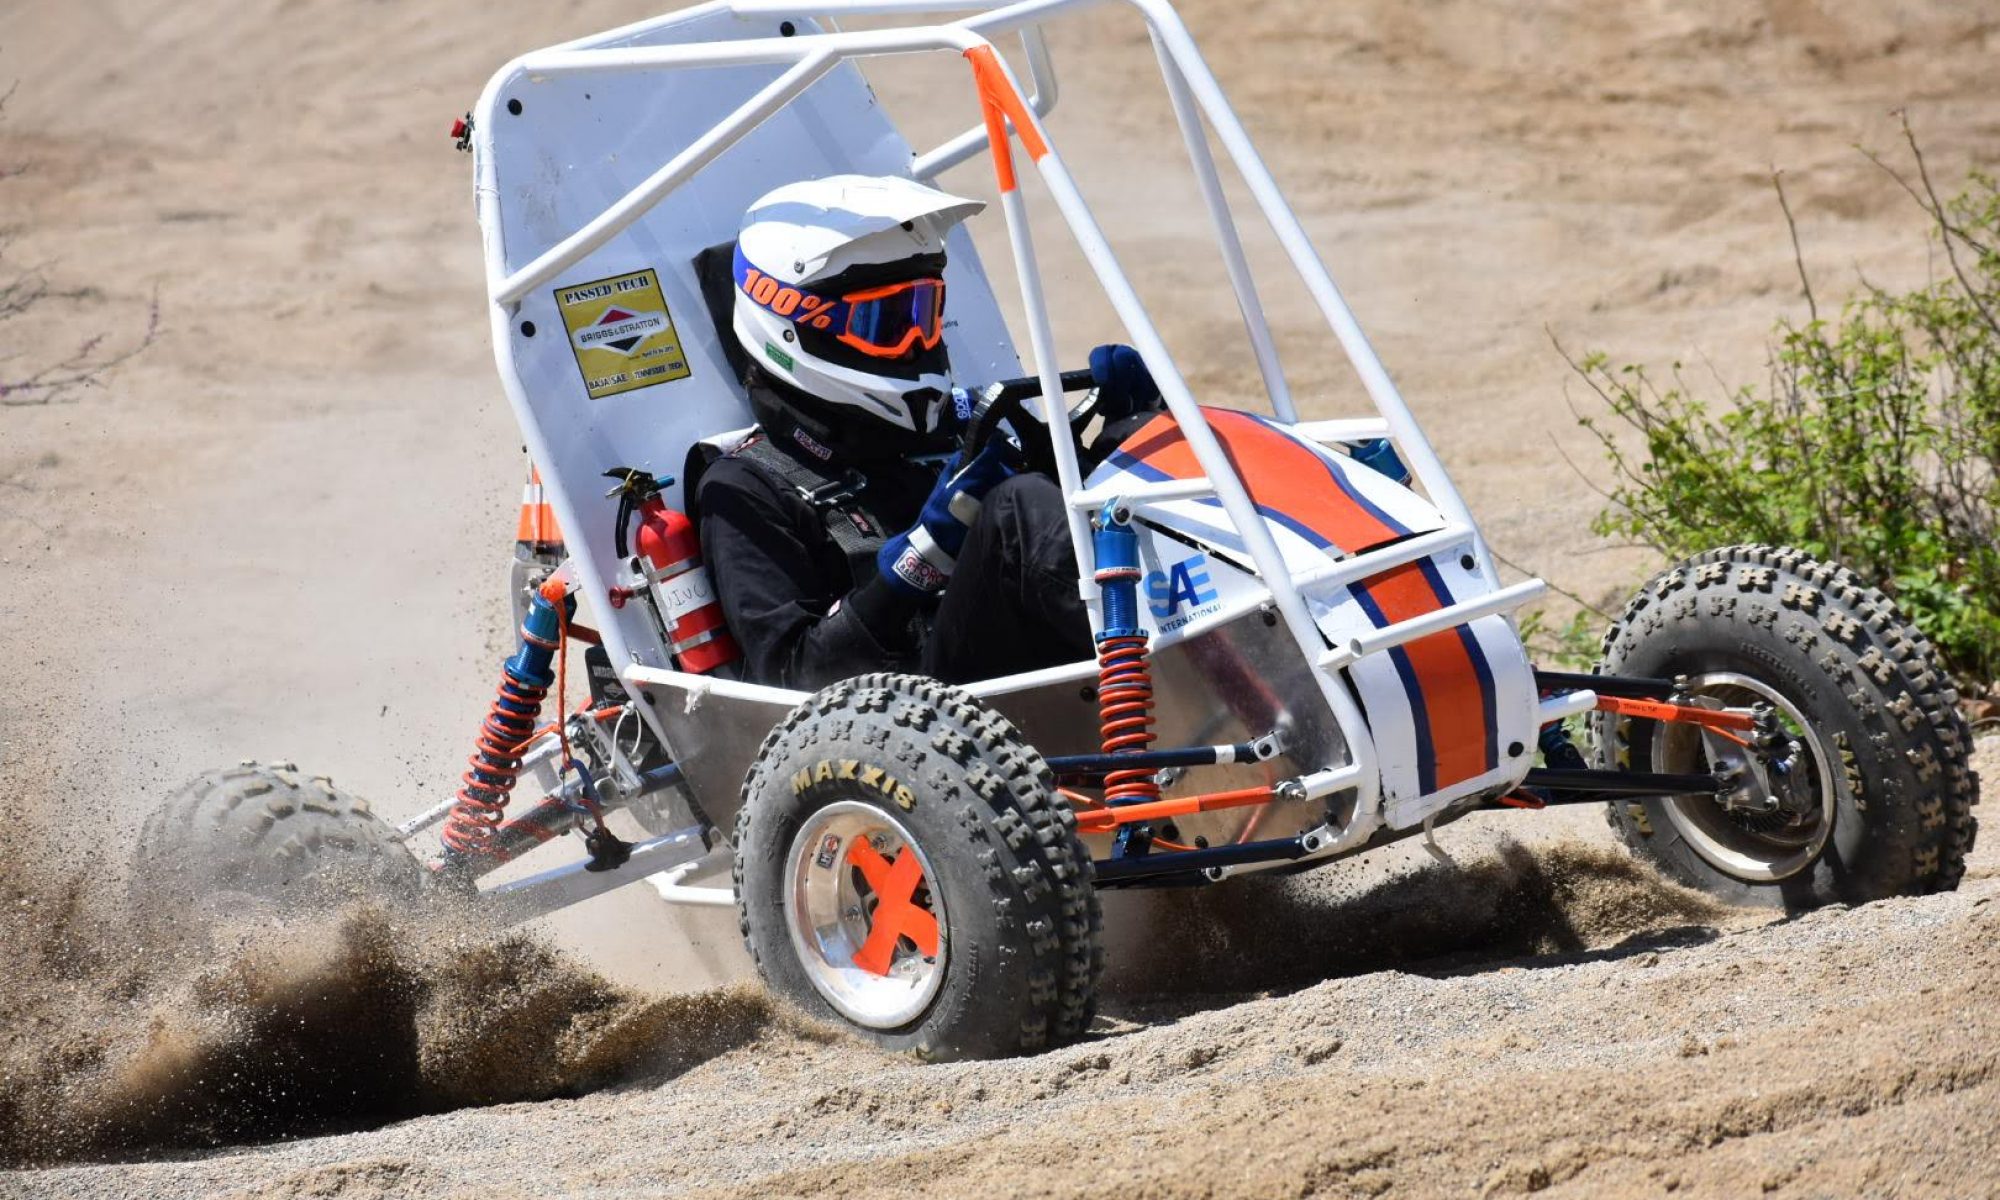
I eventually saw the solar car at the team's booth for the first time and honestly did not give it much more than a glance. I just walked past and grabbed one of the info session handouts and went on my way. Little did I know that about 9 months later I would be driving that exact car on a race track in Austin, TX that coming summer.
I attended that introductory info session and participated in their onboarding process which included a
team presentation about a system on the car that interested the group and was managed by the sub-team you were joining.
All the information we learned was from reading the team’s wiki, it was nice and slow due to the new swarm of people using it.
The available teams were Electrical, Mechanical, Solar, Aero, and Strategy. I figured since I was studying chemical engineering
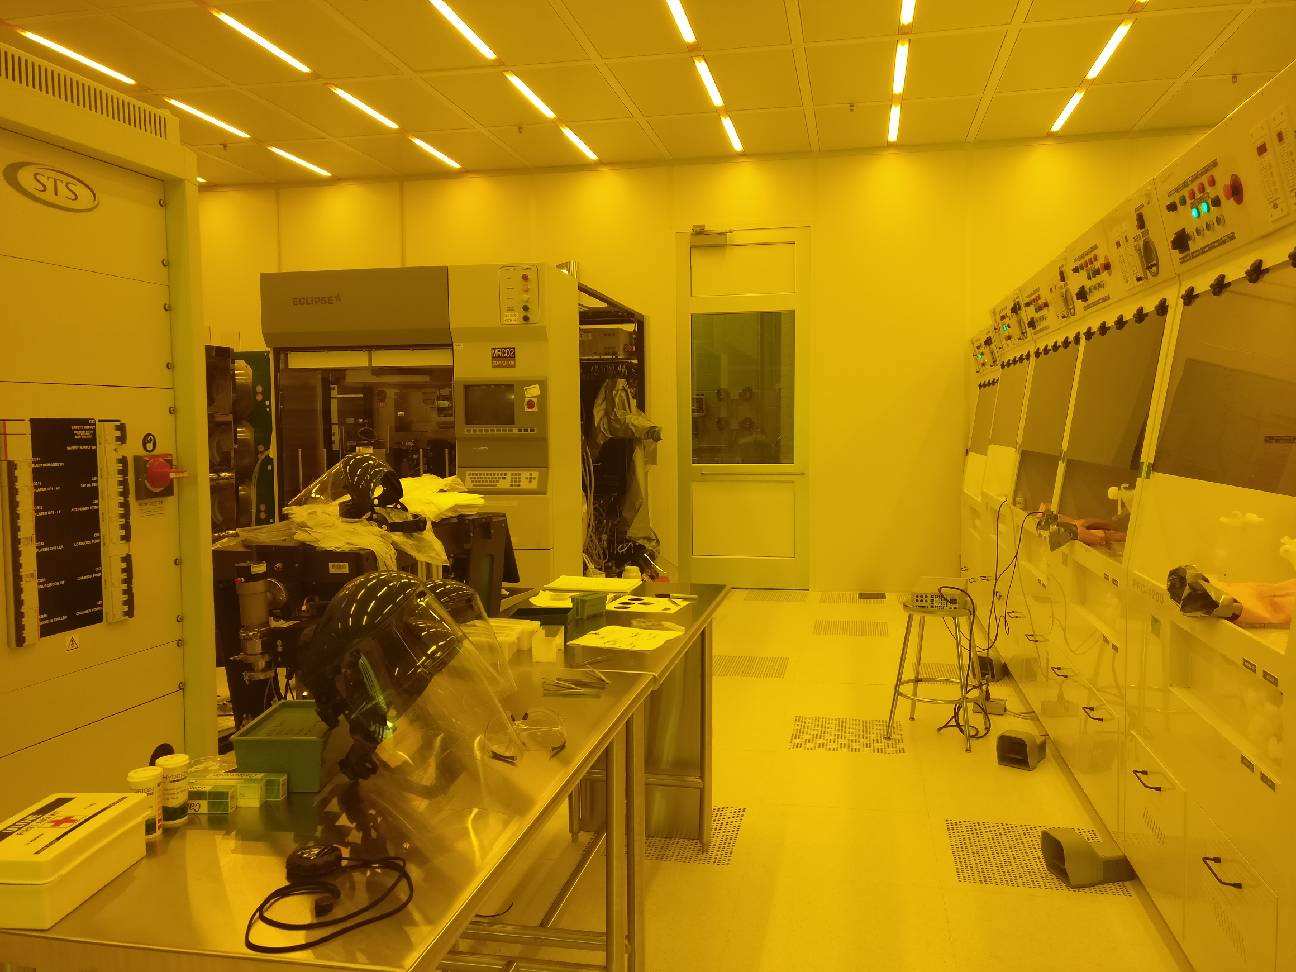
the Solar team would be my best bet. The biggest draw of it was you got to go into the cleanroom and wear the bunny suits to assemble
the arrays that would go onto the car. After the first few weeks of onboarding we finally got to go into the cleanroom to take a tour.
And damn was it cool. Here’s a picture of the cleanroom in the ECE Building that we used. They hosted a number of classes, labs, and
research there too. I even later had a class in there, ECE 481 Nanotechnology, with one of my favorite teachers Prof.
Lyding (I also did a cool research project outside of class).
As I mentioned above I got to go into the clean room and make some of the arrays for the car.
Well, technically they did not go on the car but they were made for testing the manufacturing
process to see what improvements we could make for the second car. The array modules for the
first car Argo were completely made by a few students with masterful soldering abilities. As
you can guess heat will damage any part when soldering, so the thinner the part the faster the
heat transfer. The solar cells we purchased from sunpower were only ~0.2mm thick! So when soldering
the connective dogbone to connect cells to each other just a moment too long would result in discoloration
from heat damage. We needed to include a protective layer above and below the
cells to add rigidity, insulation, partitions, and more. Commercial solar panels you have seen almost always have a metal
frame with a glass top, and this is added for the same reasons. The commercial method tends to add
a LOT of additional weight that would not be acceptable for placing on the car.
So to substitute this, we had different layers of adhesives and plastics that would give
us these properties but at a much less cost in weight and physical space.
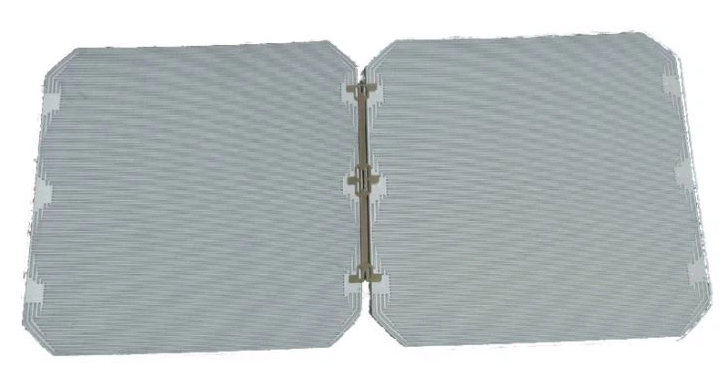
The process of adding in this protection and making the various layers is called “encapsulation”. We are encapsulating the raw silicon solar cells in plastics and adhesives, kinda like a sandwich. A very toxic sandwich if you decided to take a bite, but texturally very crunchy and most likely yummy! Jokes aside you would most likely get cancer or something nasty if the raw silicon got into your bloodstream (still might be worth for the crunch).
Anyways, the layers of the “sandwich” goes as follows:
Teflon FEP as top film, Ethylene-Vinyl Acetate (EVA) as glue, solar cell, EVA, and finally polyethylene terephthalate (PET) as back sheet.
All of these were cut and assembled in the clean room to keep them clean by keeping dust/particulates off. Holes were punched out of the back
sheet to allow for positive and negative wires to be run from a single module, since we still needed to take the energy produced from them.
I also forgot to mention but the cells were soldering in series to give us the largest voltage possible from a module.
This was done via a “snaking” pattern show in the picture.
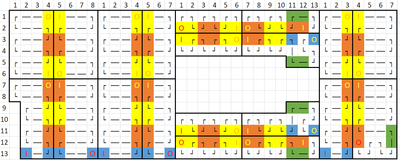
Grouping the individual cells together and wiring them in series gives a nominal voltage per module, sets of these modules then get wired into series again to make up “sub” arrays, these sub arrays feed into maximum power point trackers (MPPTs) to vary the voltage to produce the maximum power output of a sub array that then gets fed into the car battery. A lot of the higher order electronics are out of my paygrade as a measly chemical engineer, but when designing the array we needed around 120V from each “sub” array for the MPPTs to work optimally, hence one reason why we went with series over parallel.
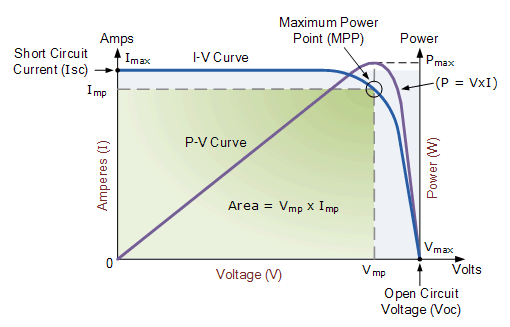
For a quick side bar on MPPTs I just wanted to share the idea of an IV curve.
This graph shows current (I), and voltage (V) plotted against each other.
If you remember the basics, Power = I * V, so this graph gives us a nice line that shows power.
Now the goal of MPPTs is to vary the voltage to increase the power output, since a change in the voltage will change the current.
If you apply that calculus you spent all that time in school learning, you can find the local maxima using derivatives.
Simple idea right? In actuality, it gets fairly complicated and I’m dumb so that’s enough for me!
Now you might ask the question since the cells are in series, what if a connection breaks? Is all lost?? To answer that question, bypass diodes. These diodes are used to skip over cell sections of a module that could be underperforming based on shading or damage. Even though bypassing cells would lose power, it would prevent the current loss and the consequences of localized heat generation in the bad cells. That heat is caused by power dissipation in reversed biased cells. Heat is double trouble because it can cause damage to cells and lower their efficiency. Solar cells have an optimum performance temperature to gain max power output. This is due to their band gap being changed when the temperature changes. Essentially, the more energy (heat) in the material the less energy you get from the PV effect. If the band gap is too high, photons cannot induce a change, and if it’s too low photons have more energy than needed and that difference is lost.
Cool, so now we have encapsulated cells grouped up in modules, grouped up in sub arrays to complete an entire array. Now what? Well after we wire everything up and connect it up to the MPPTs then to the battery, all it has to do now is sit in the sun and give us free energy!
Alright I lied. I missed one key aspect of the entire project. It's a solar powered vehicle right?
So now we need to figure out a way to put it on the car, otherwise it is worthless.
Luckily for us the composites team was hard at work and they have made a car body for us!
All of the modules that were made get placed very carefully on the car and adhered with silicone.
Holes were drilled into the car so that wires could be run from underneath each module.
NOW we are all done, with an array on the car producing power to run the motor we can go anywhere… with a road!
I’ve purposely omitted some of the heartaches that we dealt with in the manufacturing and assembly process in this section. As well as mistakes that can only be found while testing and real use scenarios. More on both later in the Brizo and ASC 2021 sections.
Argo was the first car built by the 2014 revived Illinois solar car team.
It was designed for a 6m^2 array area, hence the size.
You might notice that not all of the area of the car is covered in arrays in some of the pictures, and this was on purpose.
Well, on purpose after the fact. I mentioned above that race rules change and they influence how we design the car.
During WSC 2017 a 6m^2 array was allowed, but during ASC 2018 only 4m^2 was allowed.
So how do we compete in these 2 races without manufacturing an entirely new car?
We just took off enough modules/cells to meet the requirement, easy! Some of the consequences of this,
as you might imagine, is that now we are oversized and heavier compared to cars that were designed for 4m^2.
Weight is a BIG issue in design and manufacturing because where weight is, affects our center of gravity.
How much weight we have affects how much energy we spend moving the car. The center of gravity is a driving stability thing,
allowing for faster turns without rolling the car. So when we manufacture, its vital to do things the way it was designed,
otherwise you won’t get the desired performance. If you have it too high you can turn into the Georgia Tech Turtle and only be able to make turns
at 5 mph without risk of rolling.
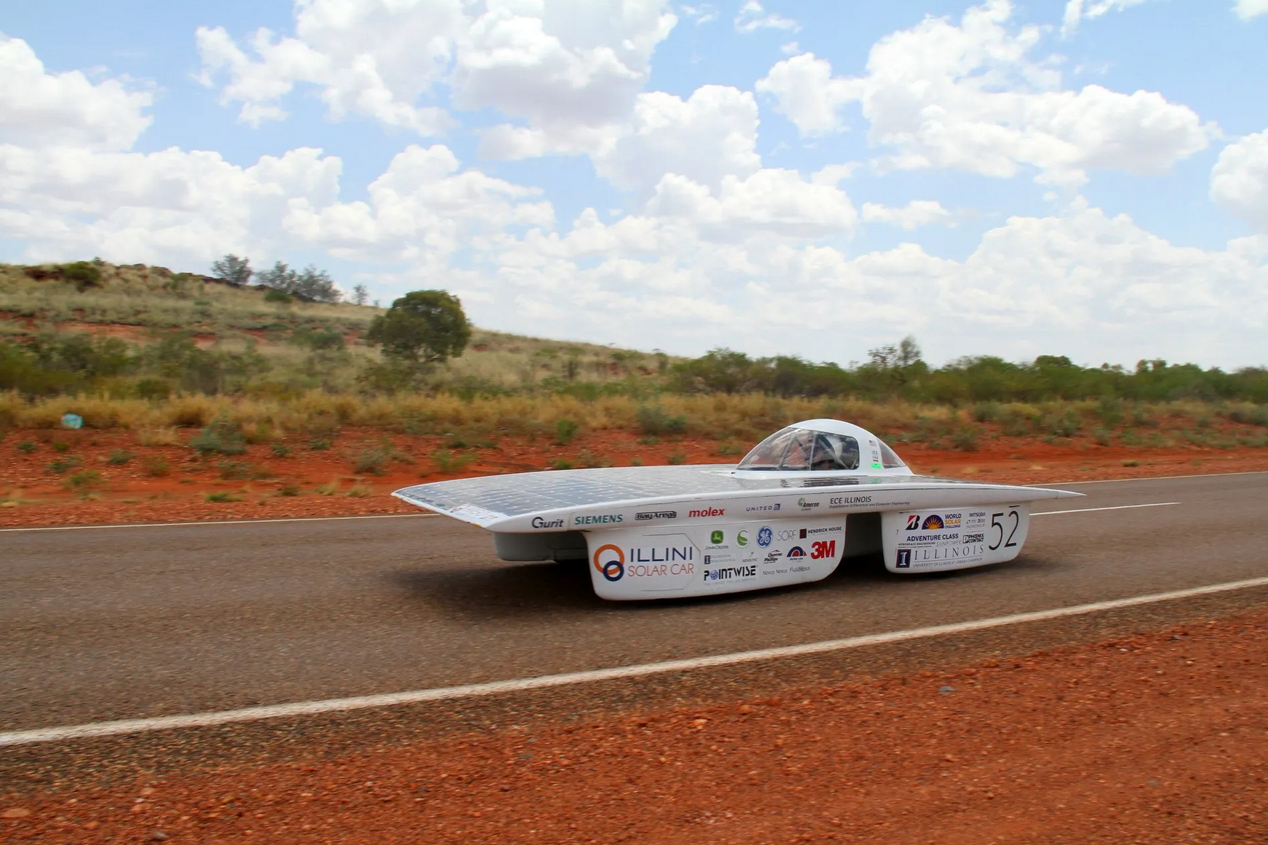
As it turned out, Argo was a very stable car when I drove it. I think this was mainly due to the wheel spacing. Since it was designed for the 6m^2, in order to fit all of that array, it needed a fair amount of width and consequently the wheels could be placed further out.
The first time I drove the car was during Fall 2018. It was for a community event that we semi-frequented called “Cars and Coffee” (don’t know if it’s related to the fancy cars one after a quick search). It was held in the Champaign area in a parking lot near a movie theater. And this was just some guys and gals that hung out in a parking lot showing off their cars that they had worked on or just owned. I was staged to drive Argo about 15 min to the event and 15 min back to see if I was a good fit to be a driver for the upcoming FSGP event in Austin that coming summer.
I’ll make a brief mention of how we drive the solar car and some safety things about driving on the road with it. Firstly, we drive in a “convoy” which is just cars in a group. In the convoy we generally have a lead car for directions, the solar car, a chase car, and whoever else is driving behind. For races the layout slightly differs, but the big idea to get from this is the solar car should always have a car in front and behind it. This of course is for safety reasons, the car is tiny compared to other road vehicles so it might not be easily noticeable. My car is a full carbon fiber body with few metal parts in the frame to save on weight, so getting in an accident would not be a winning situation for me!
Anyways, back to Cars and Coffee. This was my first time driving and I was pretty excited.
I would be driving a car that was completely solar powered on the road in a relatively experimental car compared to the regular.
I had to wear a 5-point harness, helmet, radio headset and most importantly, cool sunglasses. This was the real deal.
These cars are a push button start. A lot of contactors flip and boom you can drive it. Being inside of the car I have described previously
as a “bathtub with wheels” and I still think it holds true. It has this sweet driving wheel with a quick disconnect on
the back and it really is the pièce de résistance of the car in my driver’s opinion. We checked the lights and radio connection before heading out from our garage on Linview Ave. As we pulled out I started to notice these small things about that car that I hadn’t noticed before. There was a little hole cut into the front of the top canopy to provide fresh air for me. It was supposed to be the only one, but some air would leak out of the seal where the canopy met the main body of the car. It was actually a little cramped in there and slightly uncomfortable on my butt. I had no right to complain, it was my job to drive the car from A to B. It was my first time driving it too, this all had to be normal right?
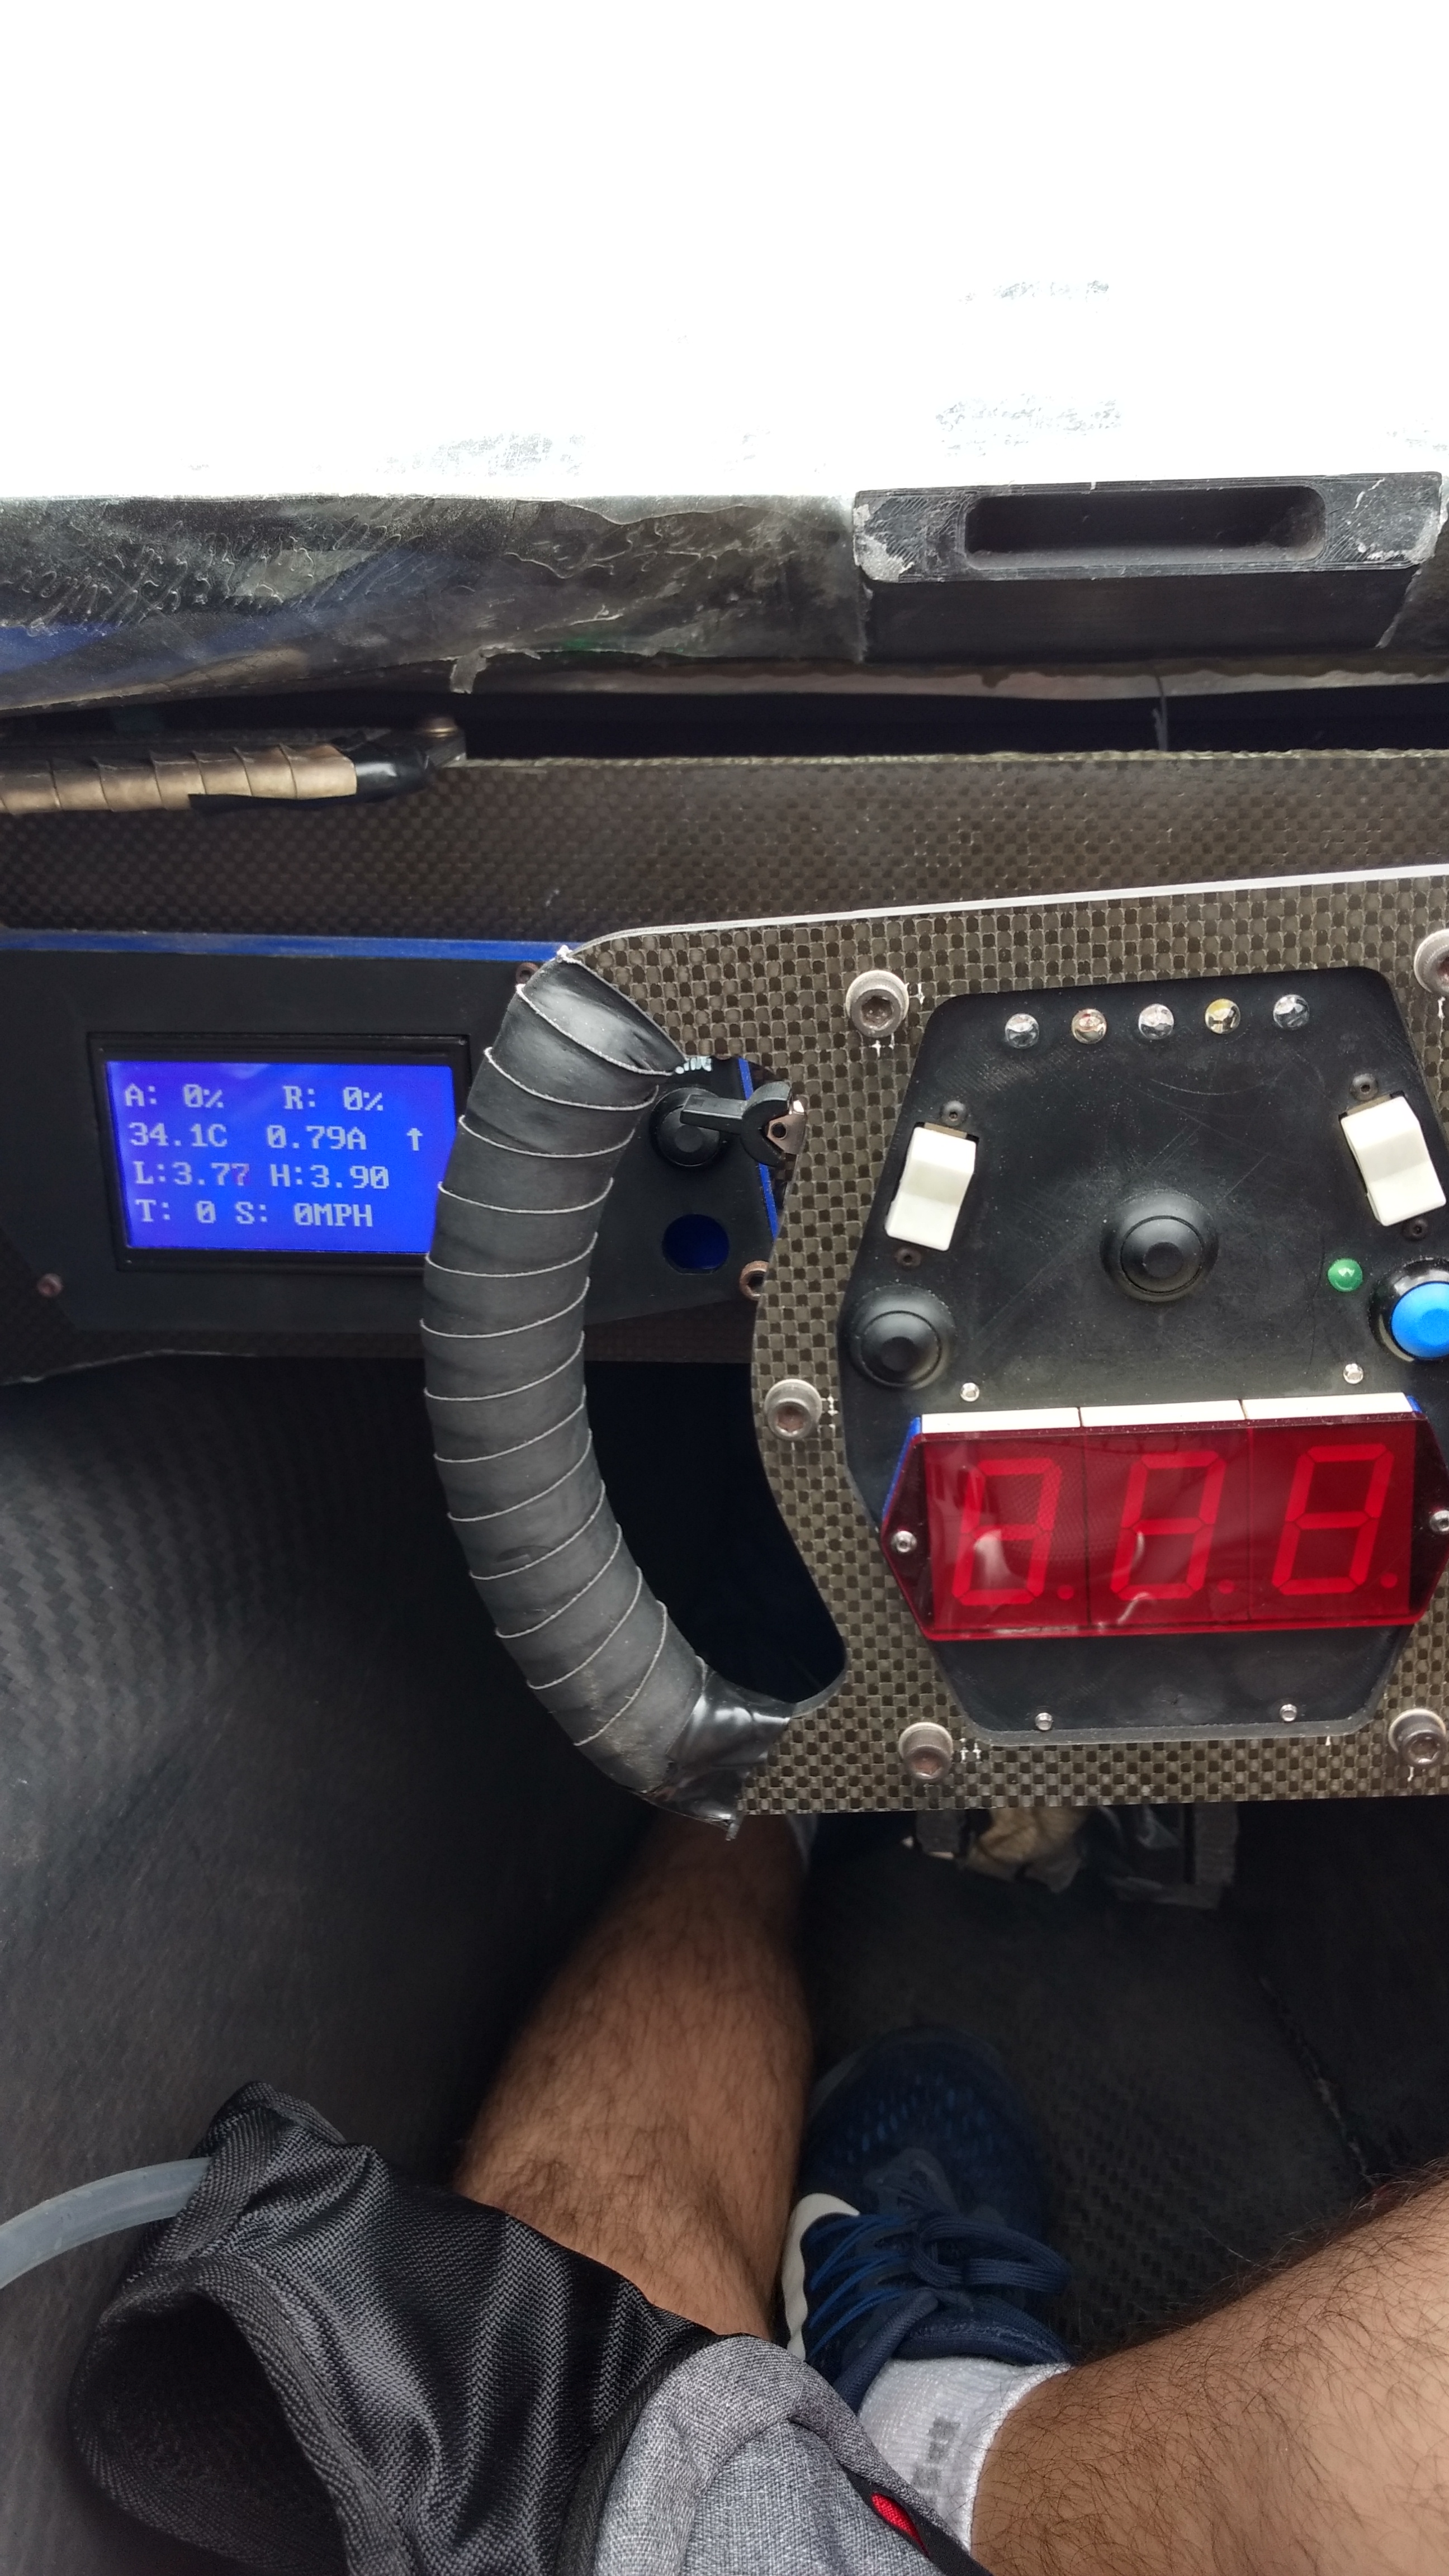
Well, unfortunately for me this was not the start of the actual problems. They happened when I started getting up to speed on the road, 30-40mph, with some nice and fast crosswinds! These are the things you don’t notice when you drive your nice heavy, fancy, regular street car. Only in extreme conditions. The car was being pulled and pushed around by the wind, it was loud and bumpy. The winds were so bad that the little opening I mentioned from where the top canopy and body of the car meet, was rushing in so fast it was trying to pull the canopy open while I was driving! There was a piece of nylon string attached to it that I eventually tied off to something while driving to keep it from opening. Meanwhile, some electrical issues kept happening where I would lose acceleration from the accelerator pedal and be stuck coasting. This was only fixed when I would reset the “dash” which was a few circuit boards that controlled parts of the car. So while driving in very windy conditions, with the car being pushed around while driving on real roads, the top canopy lifting away from me, acceleration not working, all the while talking over the radio about everything going on. It was a very stressful first experience! I eventually made it to the destination on what seemed like a very long drive, in reality around 15 or 20 minutes. Now I don’t remember if I got out and talked to the other driver, Jonathan, or just kept it to myself but I feel at that point most people would have said, no thanks to the driver position. Rightfully so. Something inside of me must have liked it, because I didn’t complain. I kinda liked the challenge of something unique and difficult, where I was the one in charge of my own problems. I could get all the help I could over the radio, but I was the one who executed it all. Kinda cool, kinda scary, but overall fun. I decided to keep driving and sign on as one of the drivers for FSGP. I drove Argo in a variety of other community events and practice drives. Things like the homecoming parade, St. Patrick Day parades, and any other events we were invited to.
Spider Wasp Labs is a collaborative space between two friends to showcase various projects that they have found time to work on. These projects span a range of topics, some of which include woodworking and baking. Check out the Projects page to see the rest.