Bread Making
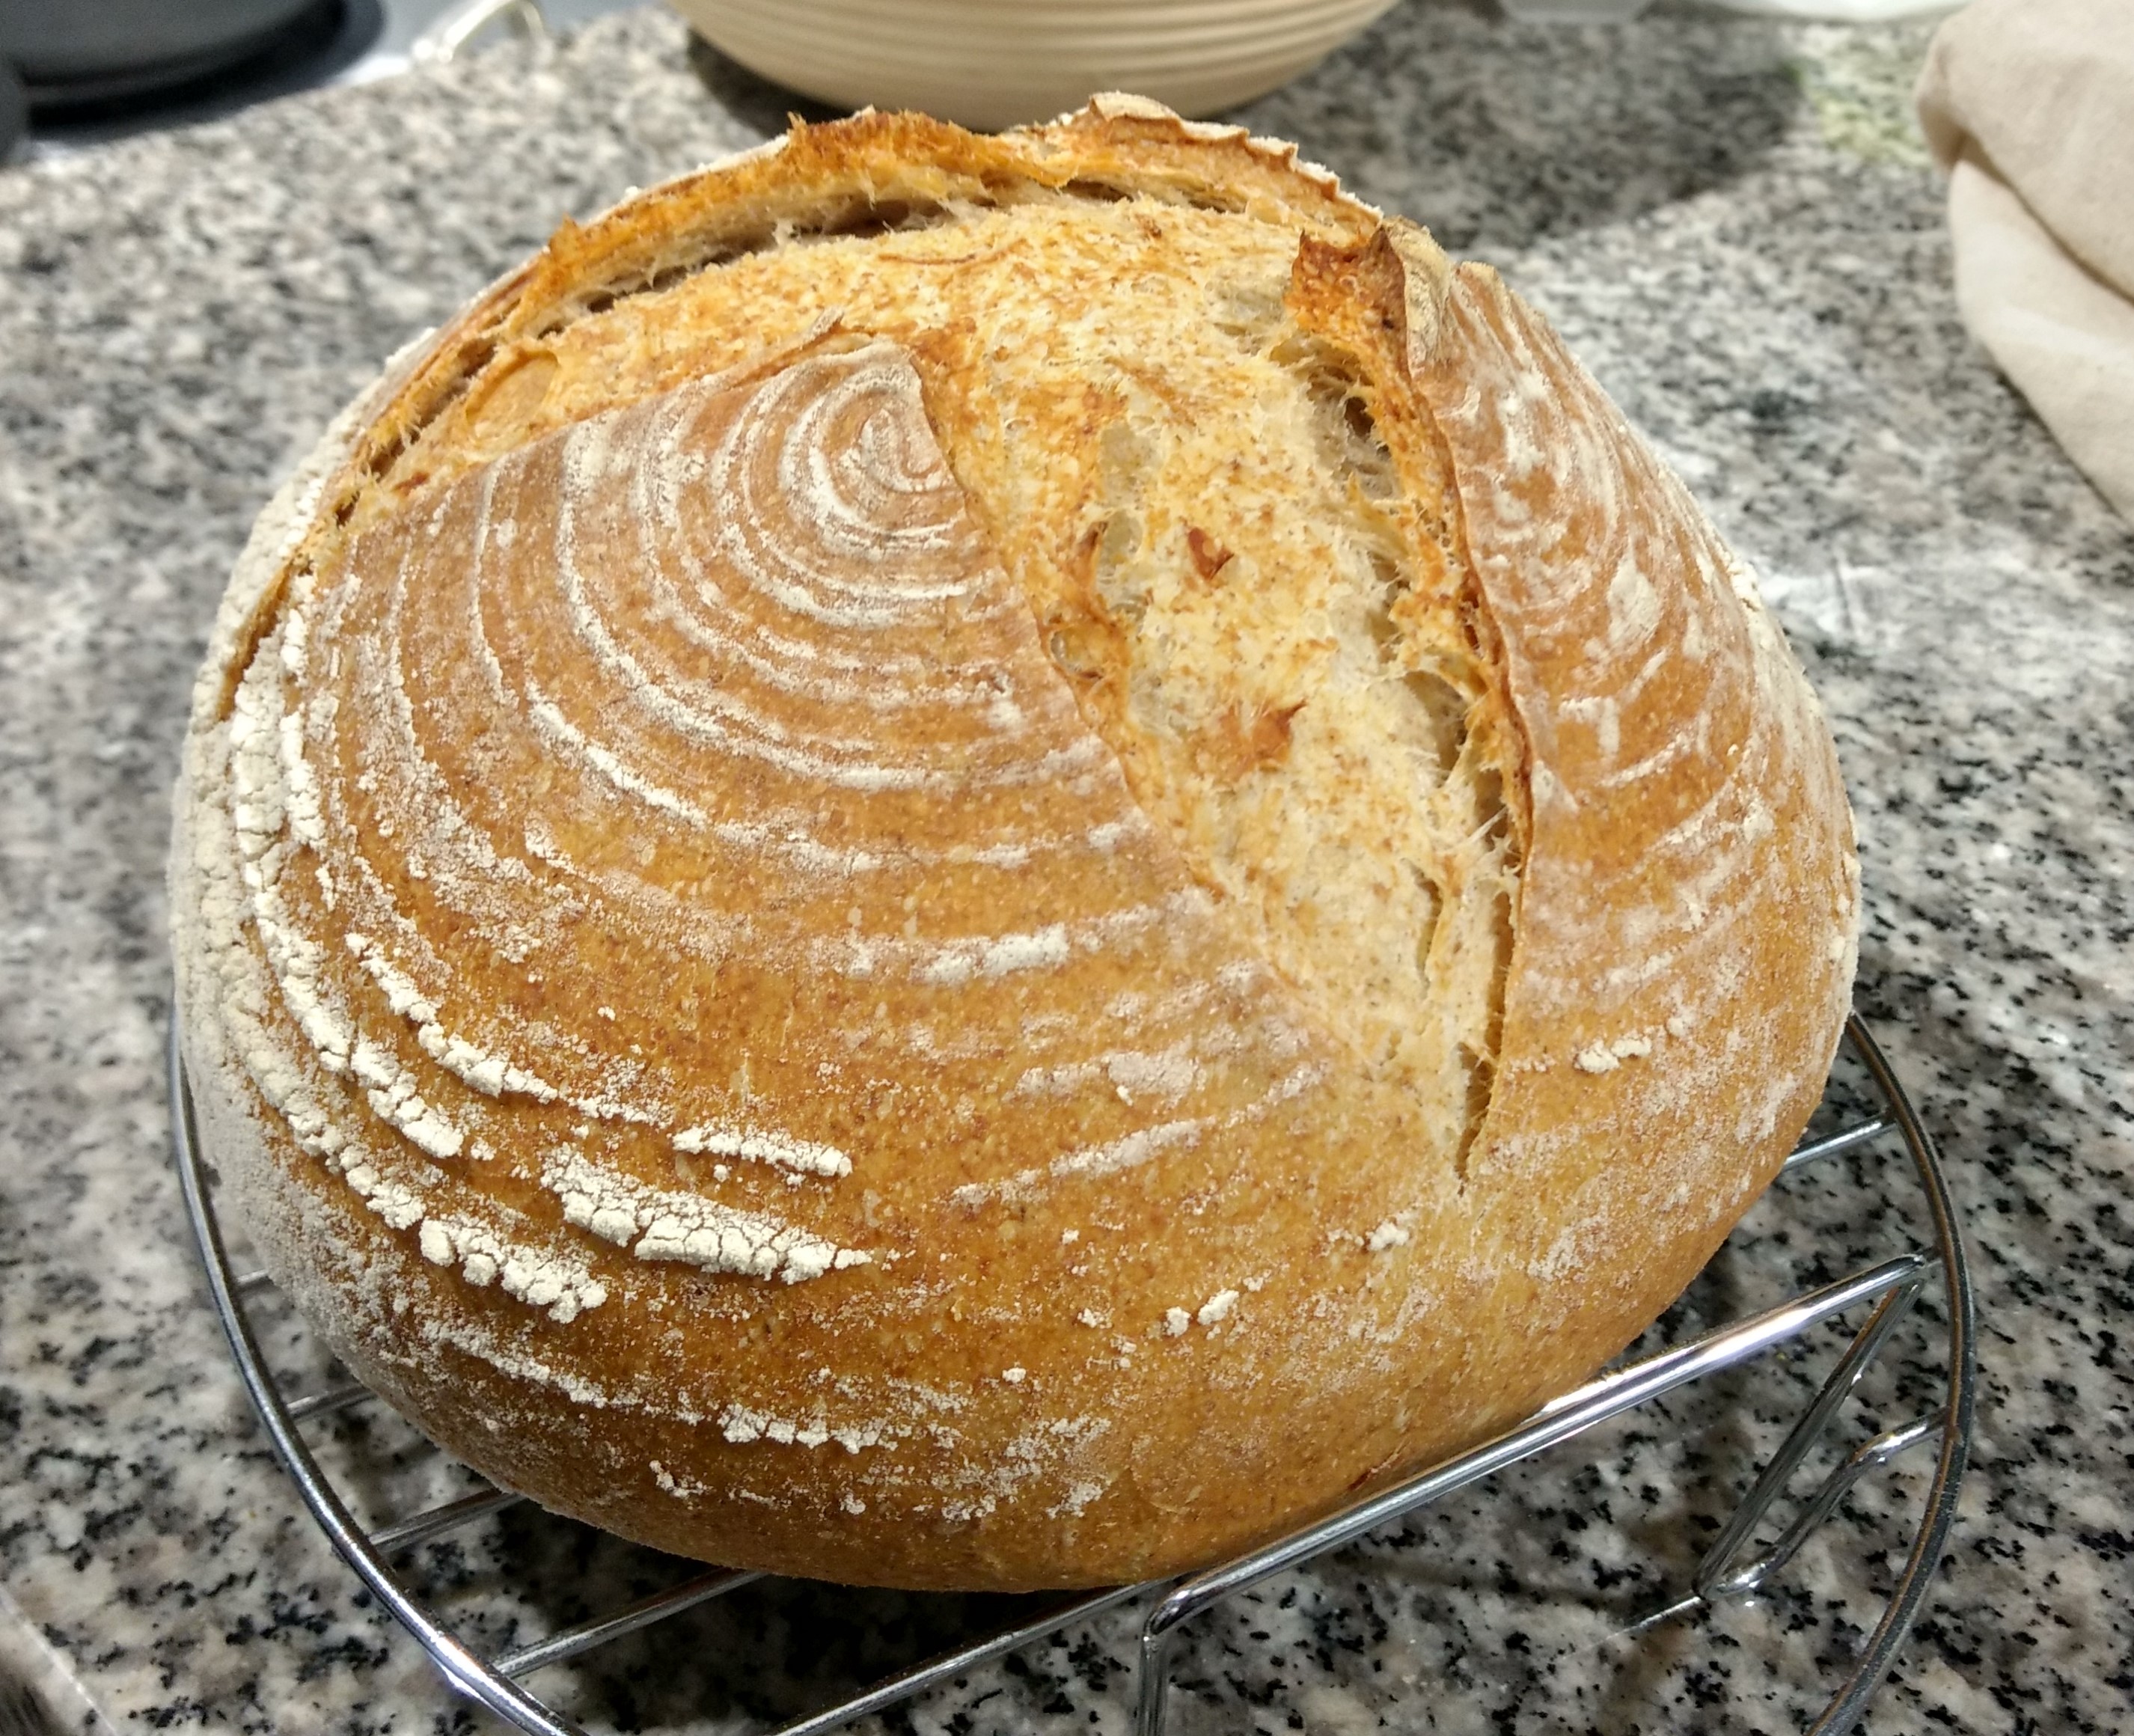

The quest for bread has been something that I have kept in the back of my mind for about two years.
The ability to make bread essentially at will is one of the powers I would like to possess.
This is not a superpower, but one that can be achieved by mere mortals like you and I. I have no experience baking or crafting any artisan goods.
I have the basics. I can read and sometimes follow instructions.
Hopefully, with these abilities at hand I will be able to make my own sourdough bread at the end of this process.
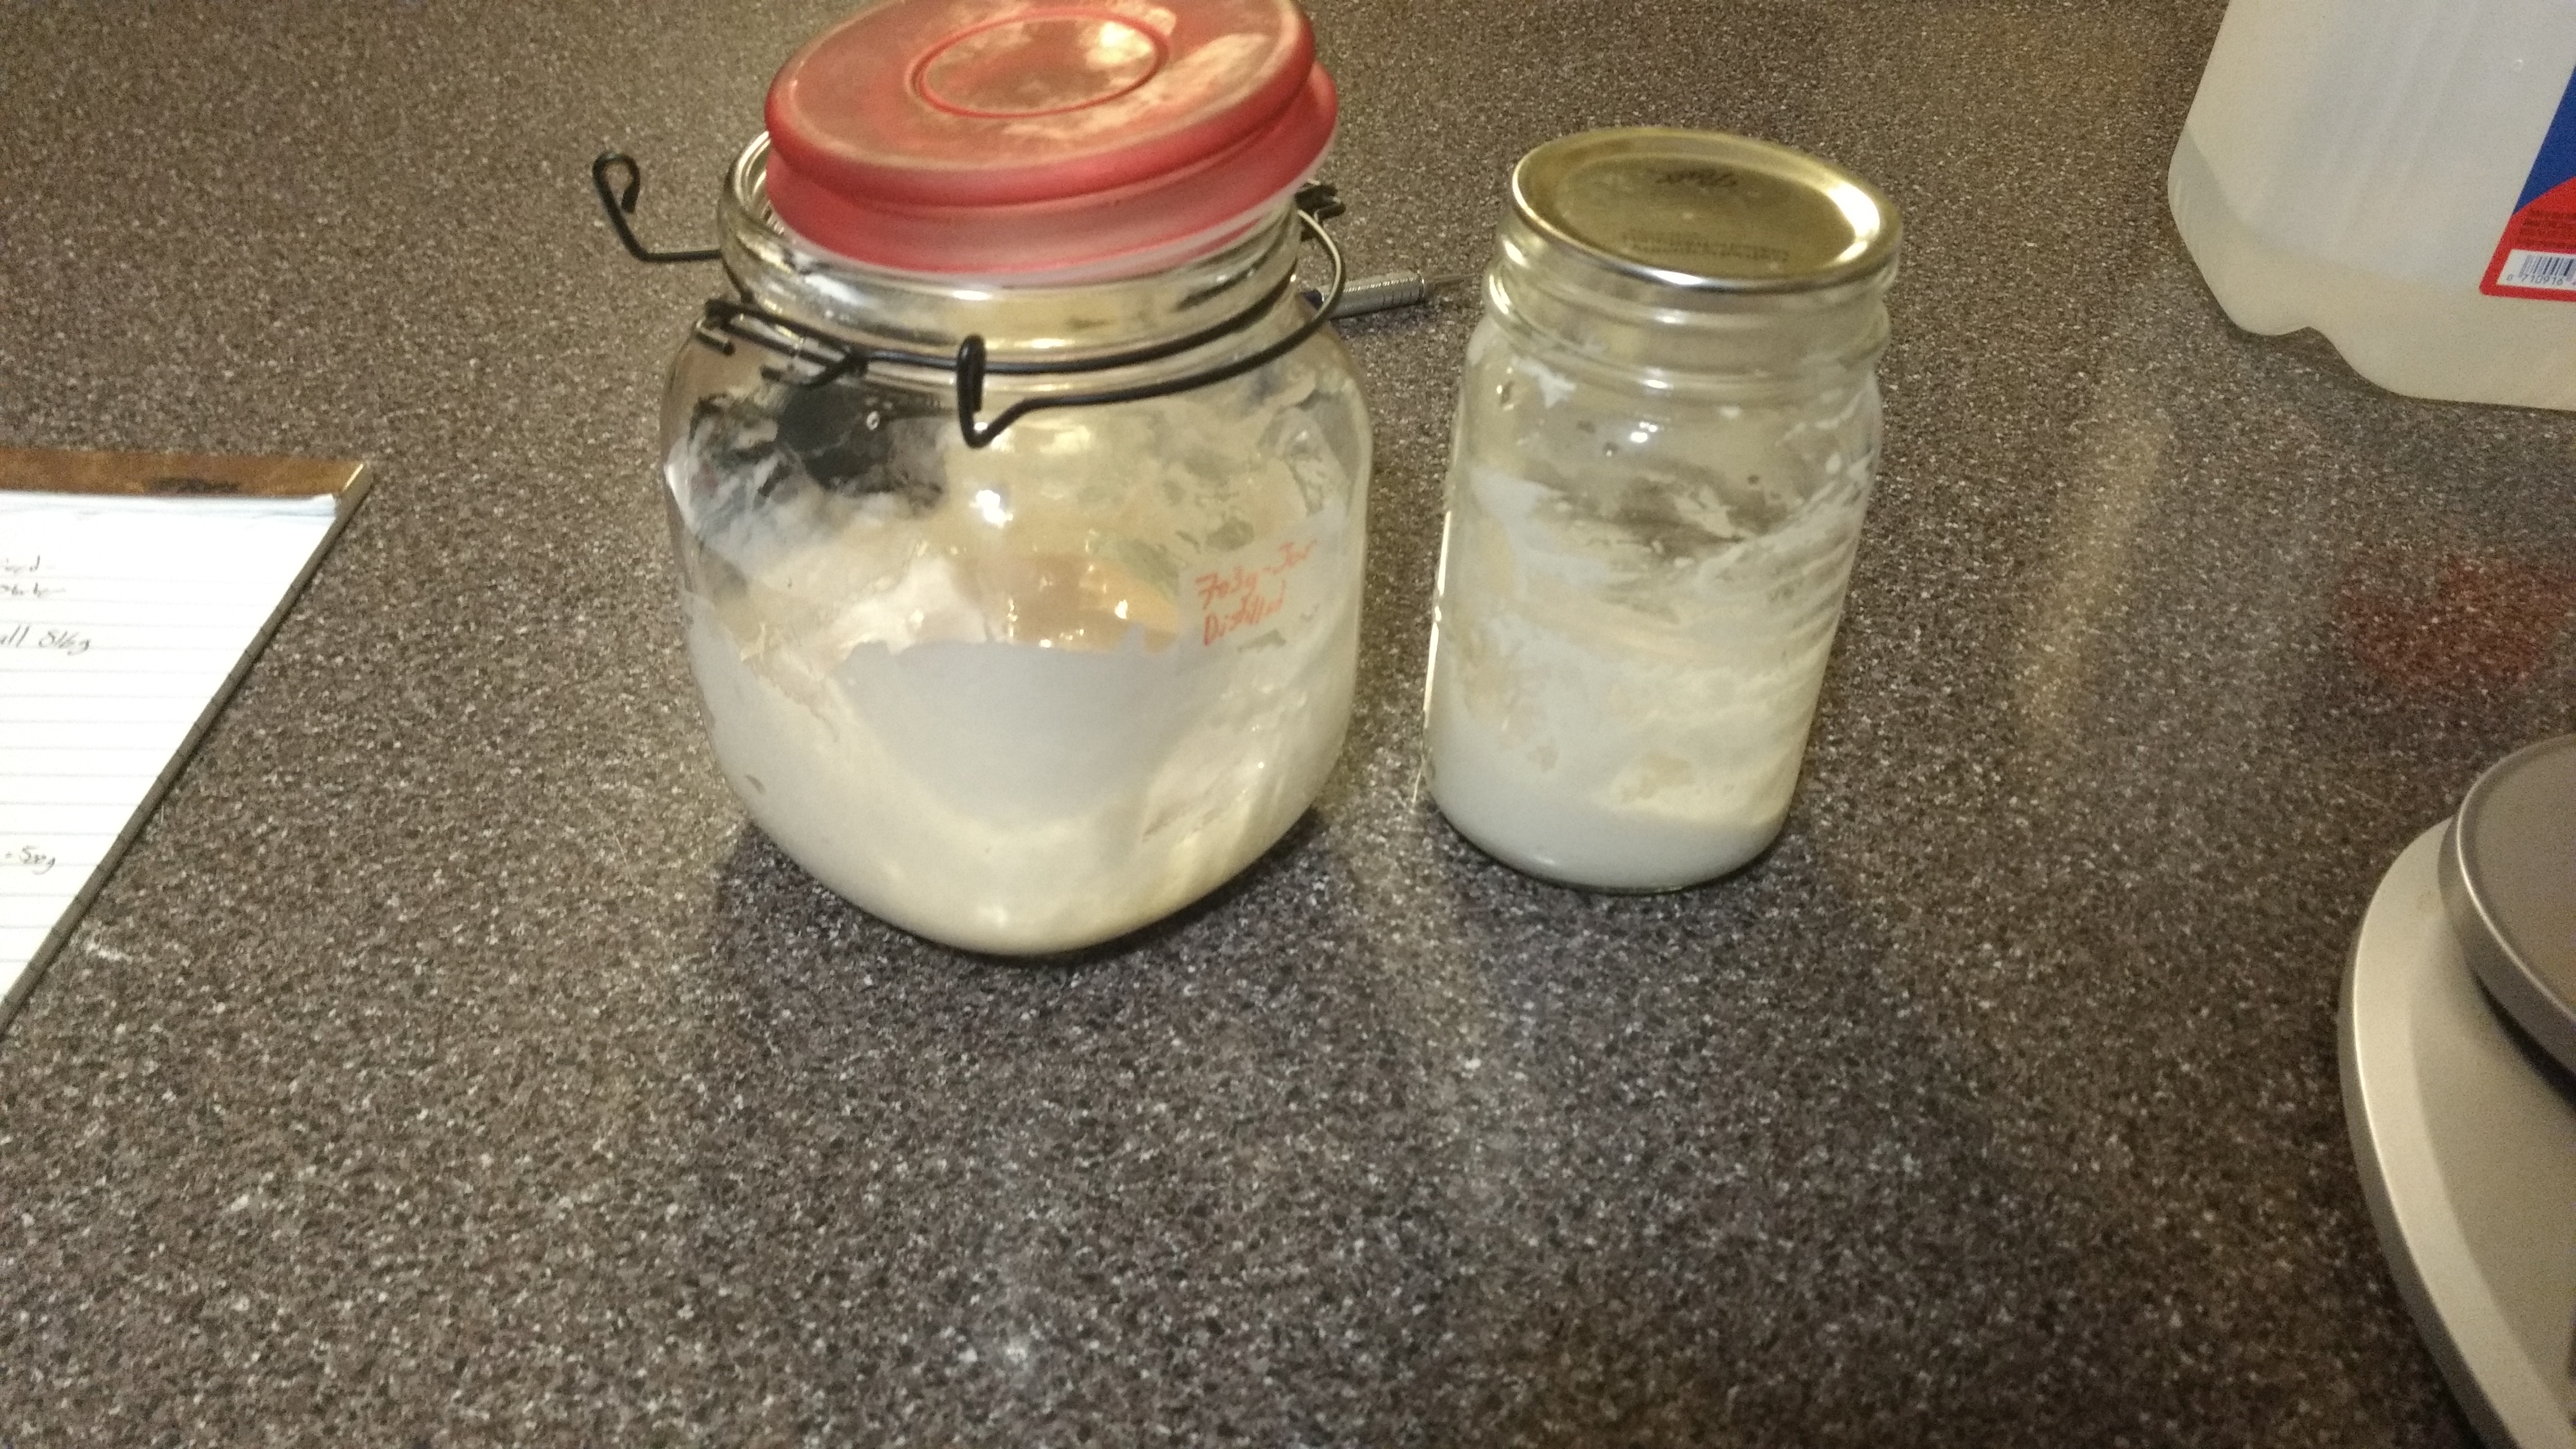
Now that I am uncomfortably sleeping due to the heat, I know that the temperature is right for me to start again.
This time held accountable by... nothing, same as the first time. I am following the steps given in an article found on The Perfect Loaf.
They had some good looking pictures of bread, so by that metric they must be a trustworthy source on bread things.
[starter here]
[and here]
Eventually after the starter situation was figured out it was time to make some bread! I got all of the ingredients required to start making my bread.
This included bread flour, salt, and my freshly made starter
Just those few noble ingredients with the right time and conditions would yield a beautiful loaf of bread.
I’m sure there’s some life analogy in that, but let's be real, we're here to make some damn bread and eat it!
As those before me were and those long after will be, I was impatient. Might I remind you that this adventure started in the wonderful summer of COVID 2020, so I was bored.
This consequently guaranteed I was watching the starters every move and overreacted to the slow and steady change.
Regardless if the starter was ready to make some bread or not, I was.
So I started on the first loaf and followed the directions provided by The Clever Carrot that I found online.
There’s no need to restate the specific directions here since I did not deviate from them… yet.
The simplified recipe steps are making the rough dough, bulk rising, shaping, proofing, then baking. Simple, right?
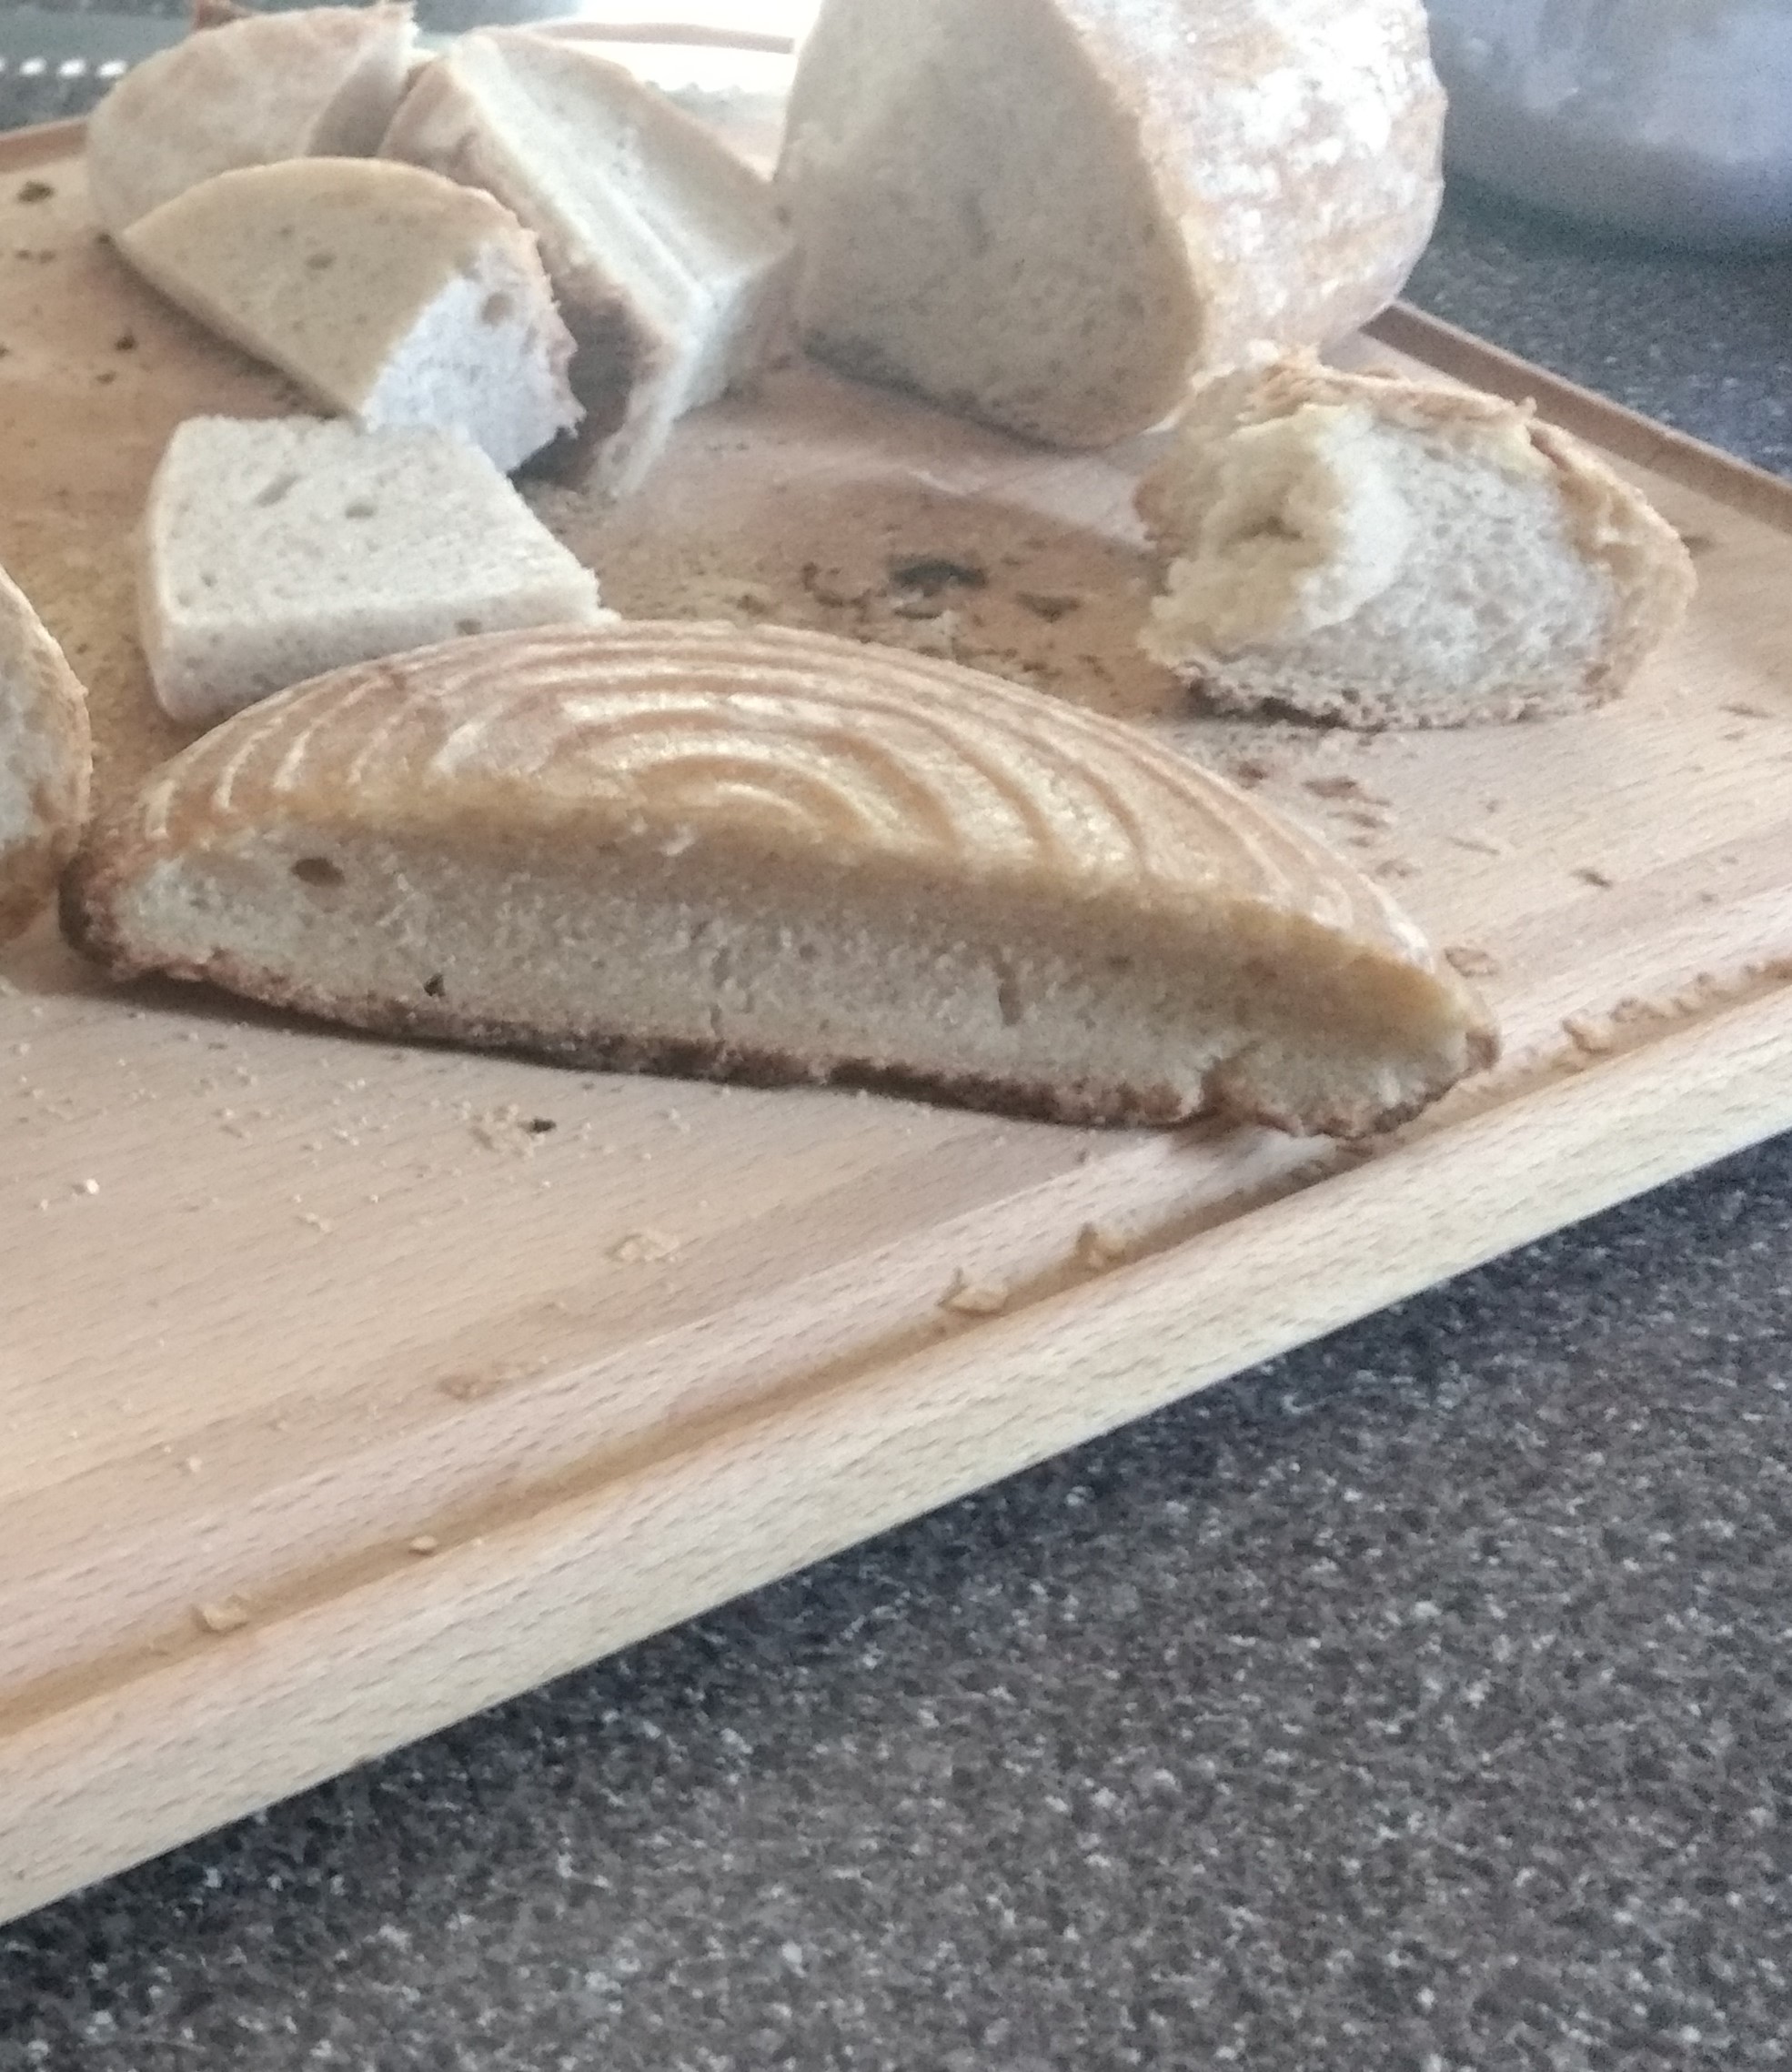
As I am a man of virtue I will be the first to admit my loaf was bad because of me. WHOOPS!
Yeah. So who would have thought that my actions have consequences and something doesn’t come out exactly like the image in your head.
As with every failure in life there is a lesson to be learned, and that one was patience here. You can clearly see that the bread is not fluffy, tall, or good looking.
I knew right away that the problem was my starter due to the lack of bubbles and rise during the final proof before baking it.
Determined to make this hockey puck beneficial to me in any meaningful way, I decided to taste it.
The flavor was actually not disappointing and even had the slight sour tinge I was looking for. The texture on the other hand can only be described as dense.
It had that chew that didn’t go away and hurt your jaw after a bit.
The only course of action at this point was just to continue the starter feedings and just wait until it was ready.
I honestly do not remember how long I waited until the next loaf, but the wait was worth the reward!
Following the same directions mentioned above I made a second loaf and just hoped that the starter was ready to go this time.
It was looking much better than the first in the initial proof and stayed looking good in the final proof prior to the oven.
Much to my delight, this loaf looked so much better! Here is a shot of both the first and second loaf side by side.
Just look at that difference in height and fluff factor!
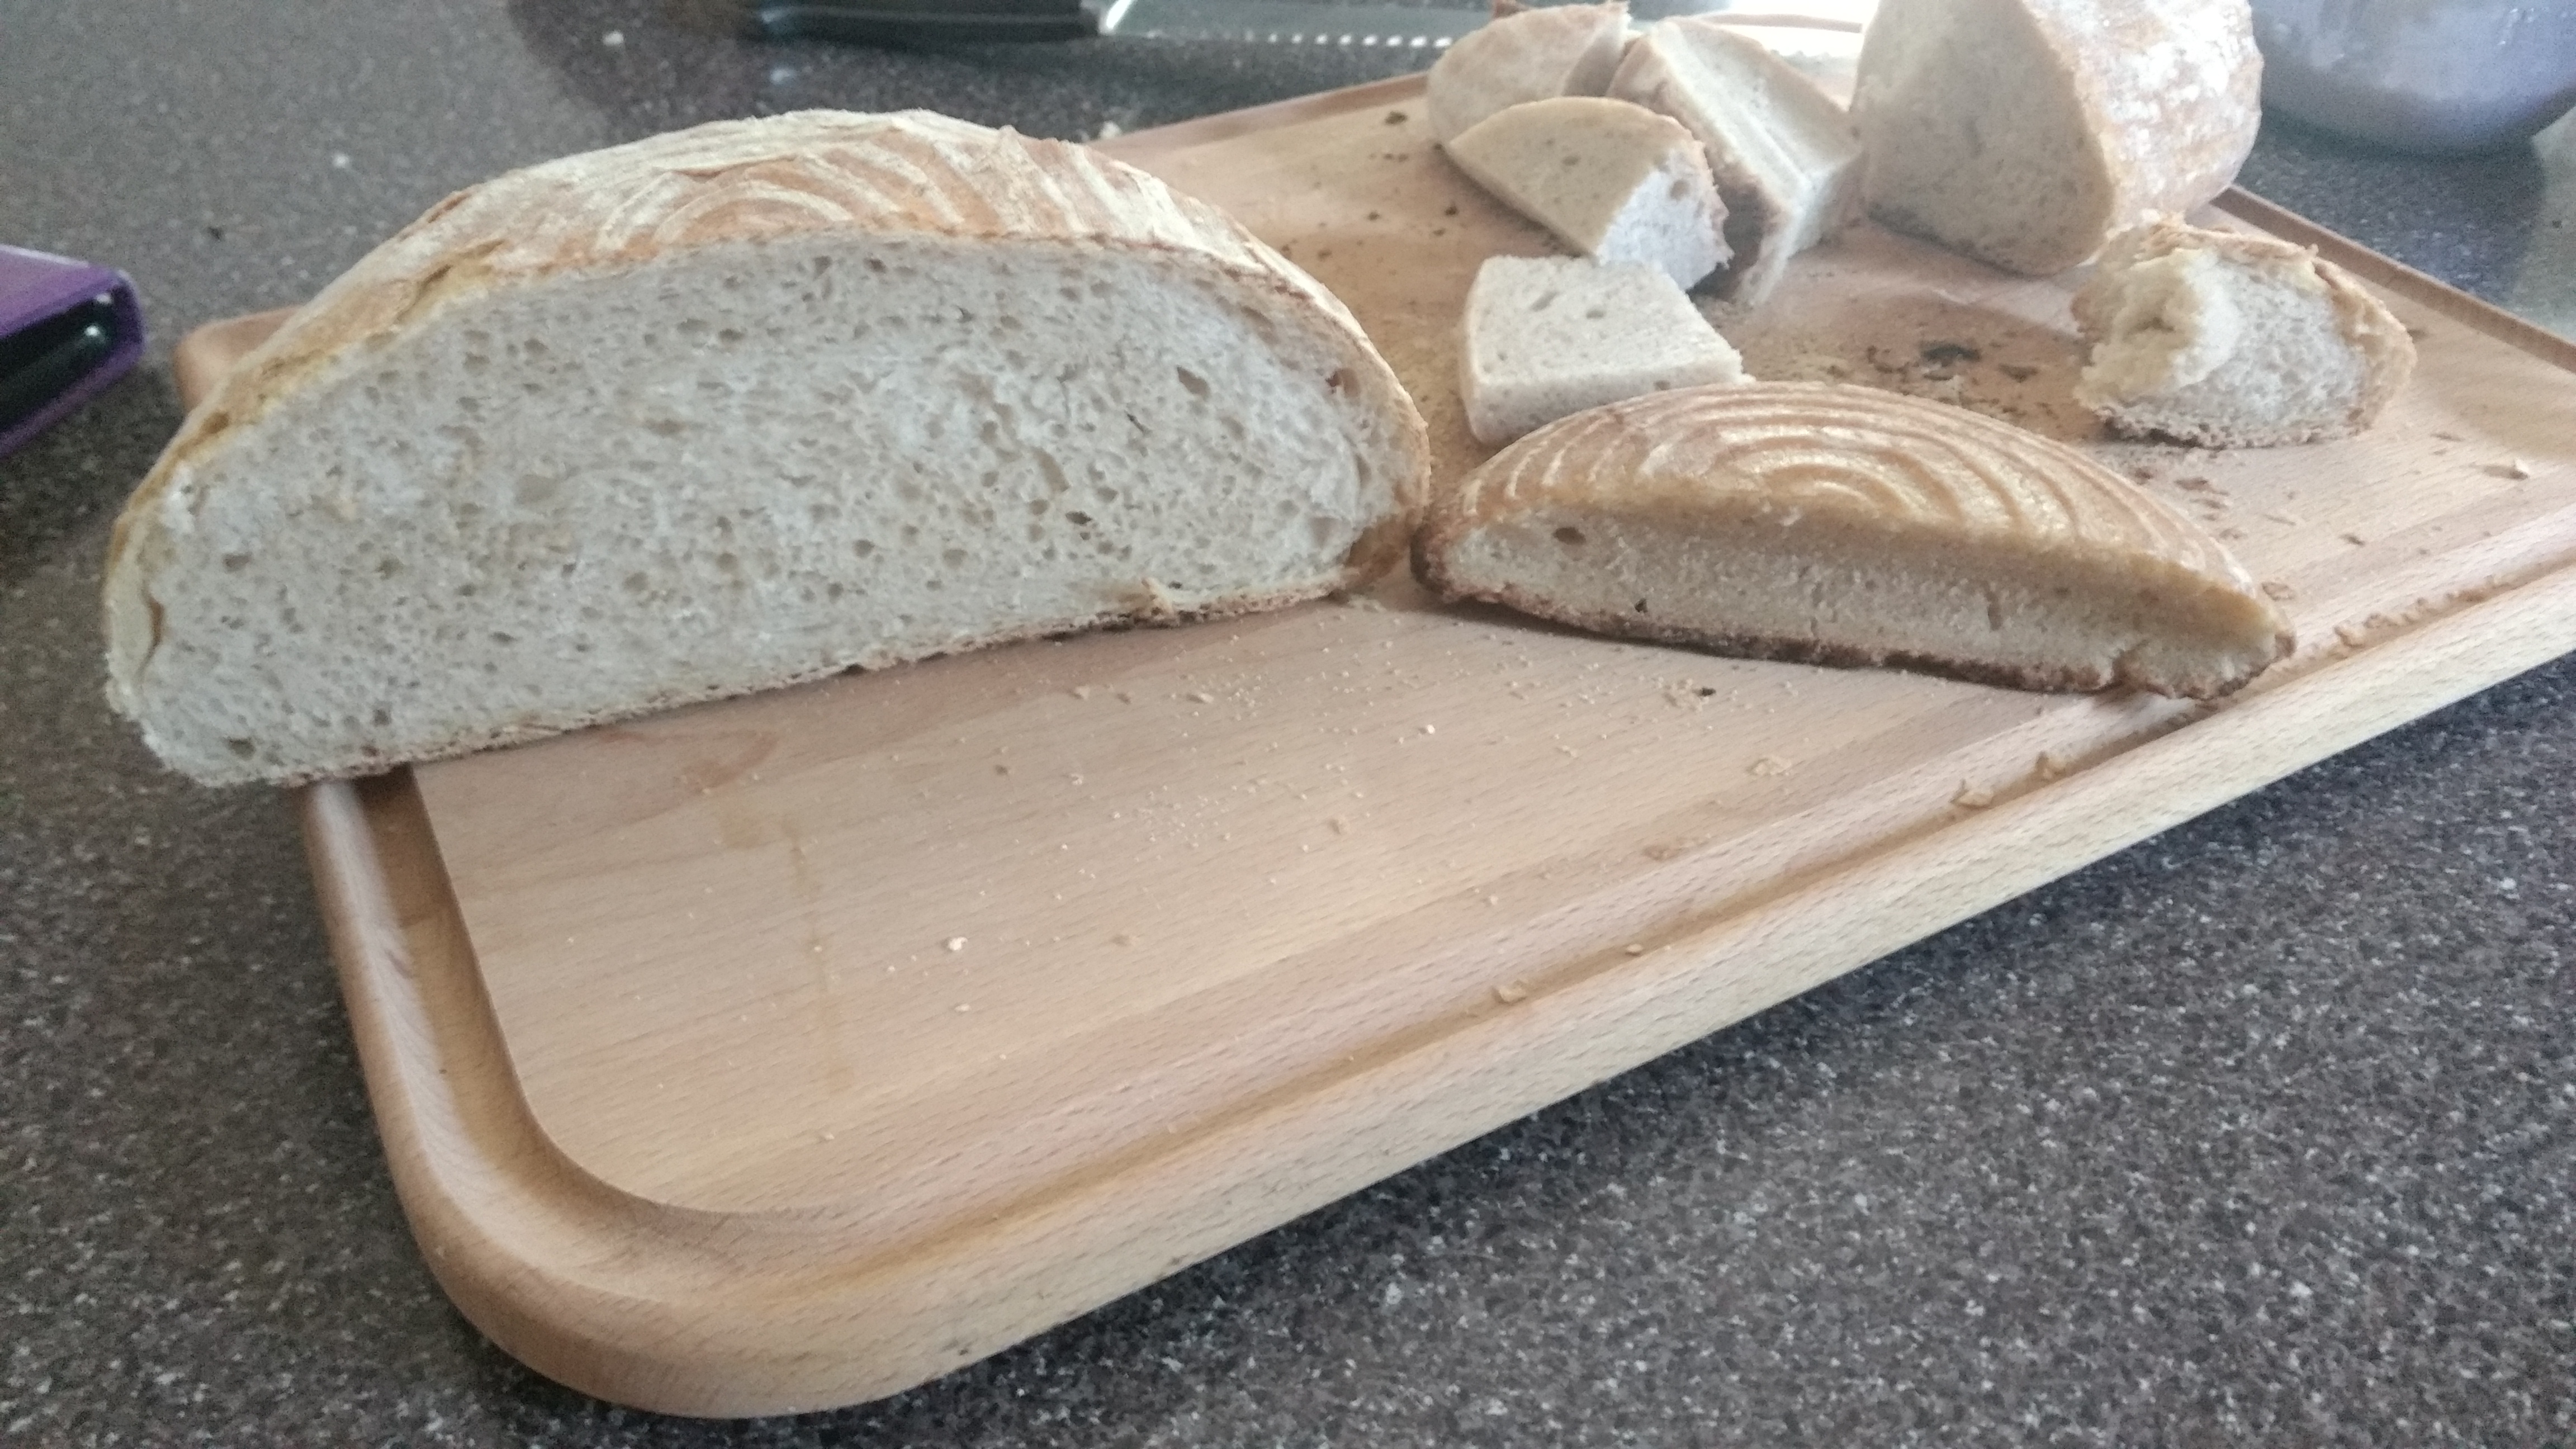
Right away something that I noticed with the loaf was the taste and texture was off.
It was not as sour as the first and the crust was honestly not what I wanted.
I was looking for that more traditional crunch and browning on the outside of the bread.
Something where those natural instincts kick in and force you to eat it fresh with some butter.
But also needing some backup to pull you away from it so you don't eat it all in one sitting.
With these goals in mind, I knew that I would need to change some of the times and or temperatures for the recipe.
The first thing that I decided to change was the time that the bread was baking with the lid off.
My thought was when the lid is on it is preserving some of the moisture in the dough and preventing the crust from forming nicely.
So I decided to just lower the time the lid is on. In the recipe the lid stays on the Dutch oven for 20 minutes and is removed for the remaining 40 at 400ºF.
I just halved the lid time and got a bit of a better result, but obviously not well enough to feel the need to take a picture of it.
Hah. As with most things, this was an iterative process of changing the times and the temperatures around.
After a few more loaves and some more changes, I landed on the money. It was beautiful.
It’s that kind of loaf that you think of when you think of good bread, and that’s what I set out to do.
My deviation from the recipe ended up being this.
Preheated oven with Dutch oven inside of it to 450ºF.
CAREFULLY place your proofed and scored loaf into the cornmeal’d hot Dutch oven (this was to get that nice bottom on the bread).
Place back into the oven with the lid on and drop it to 415ºF for 15 min.
Take the lid off and bake for 35-45 min, really just depends on when the top of the bread gets that sick nasty brown beautiful delicious crunch crust.
The time range for the last step depends on how much heat was lost when taking the lid off and possibly dough moisture.
I might note that these temperatures were for my oven and would most likely differ to another oven.
I did not have a secondary thermometer inside of the oven to verify the temperature, but just use your eyes at the end.
There you have it, my best loaf. I would estimate it took around 5-7 attempts to hone it in, but I can assure you it was worth the failures.
Mostly because I ate fresh bread regardless of the outcome.
Since I was still having fun with it about 6 months later I decided to riff on my starter and the recipe itself.
I started a competing strain of starter that used a mix of different flours to possibly get some unique flavor changes.
It was really a battle to the death for the two starters since whichever one I liked more would continue to be fed and the other not.
[Duel of the loaves]
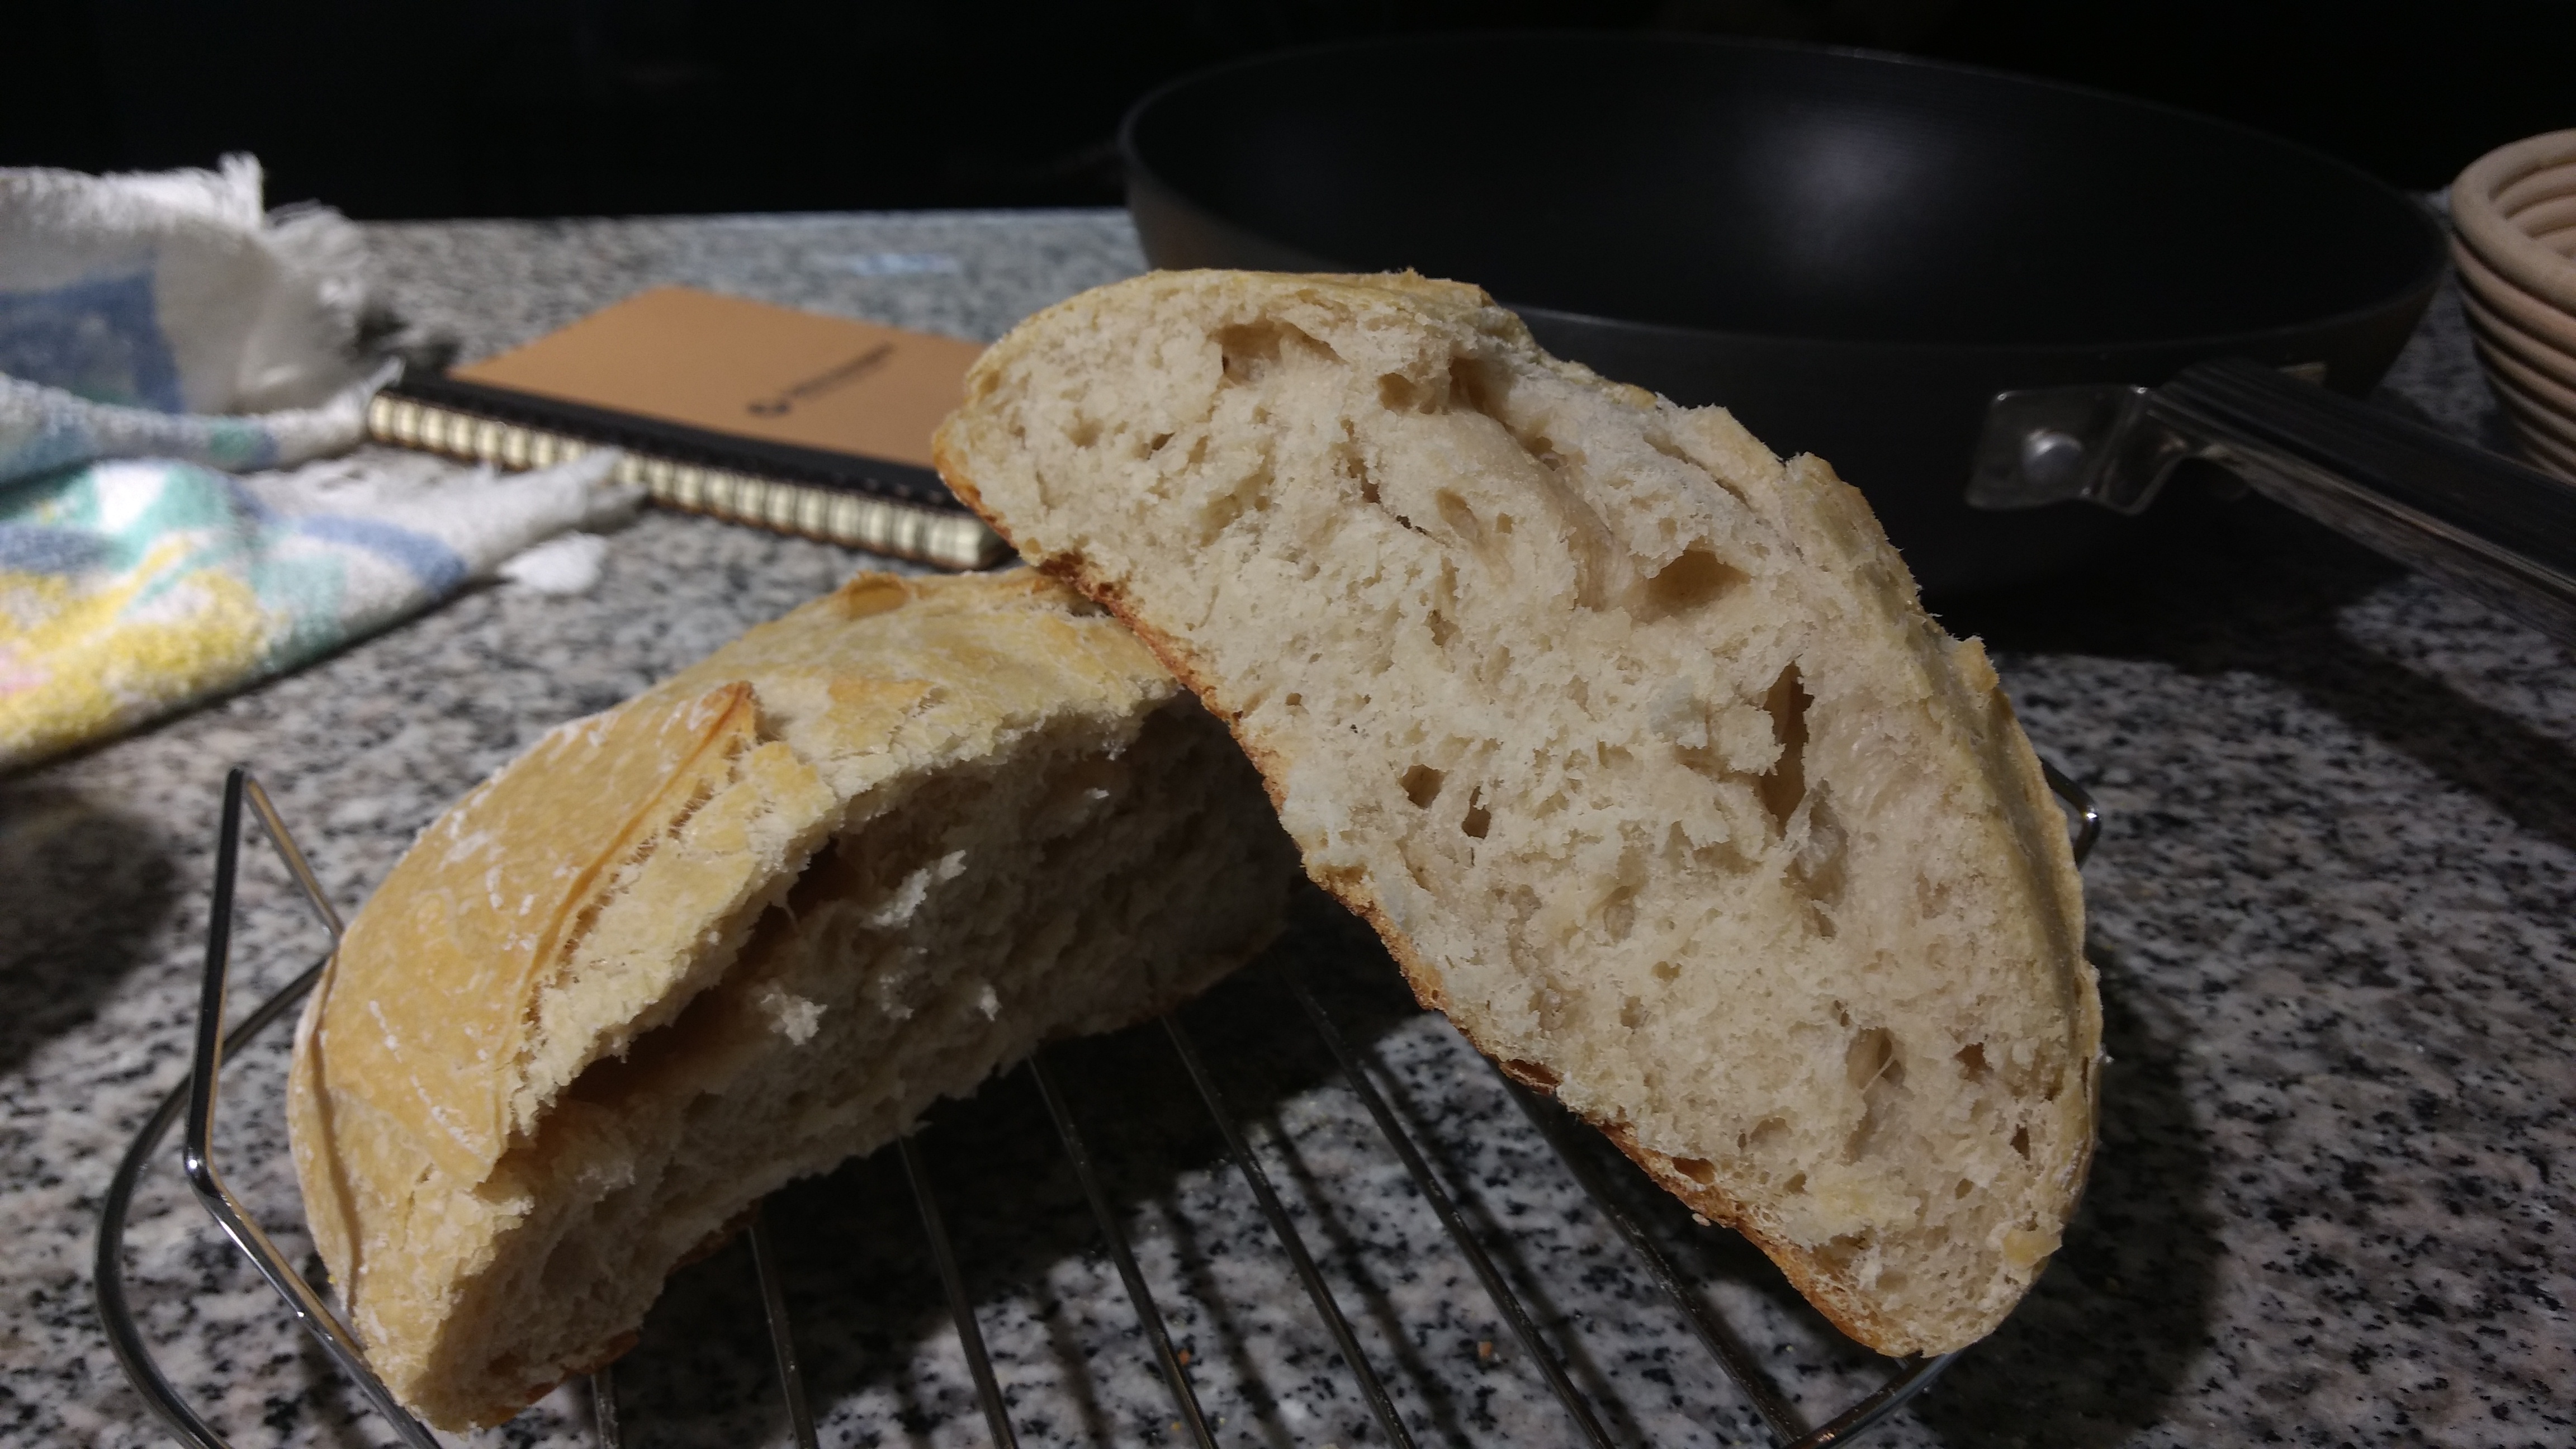
[and some]
[Death and Renaissance]
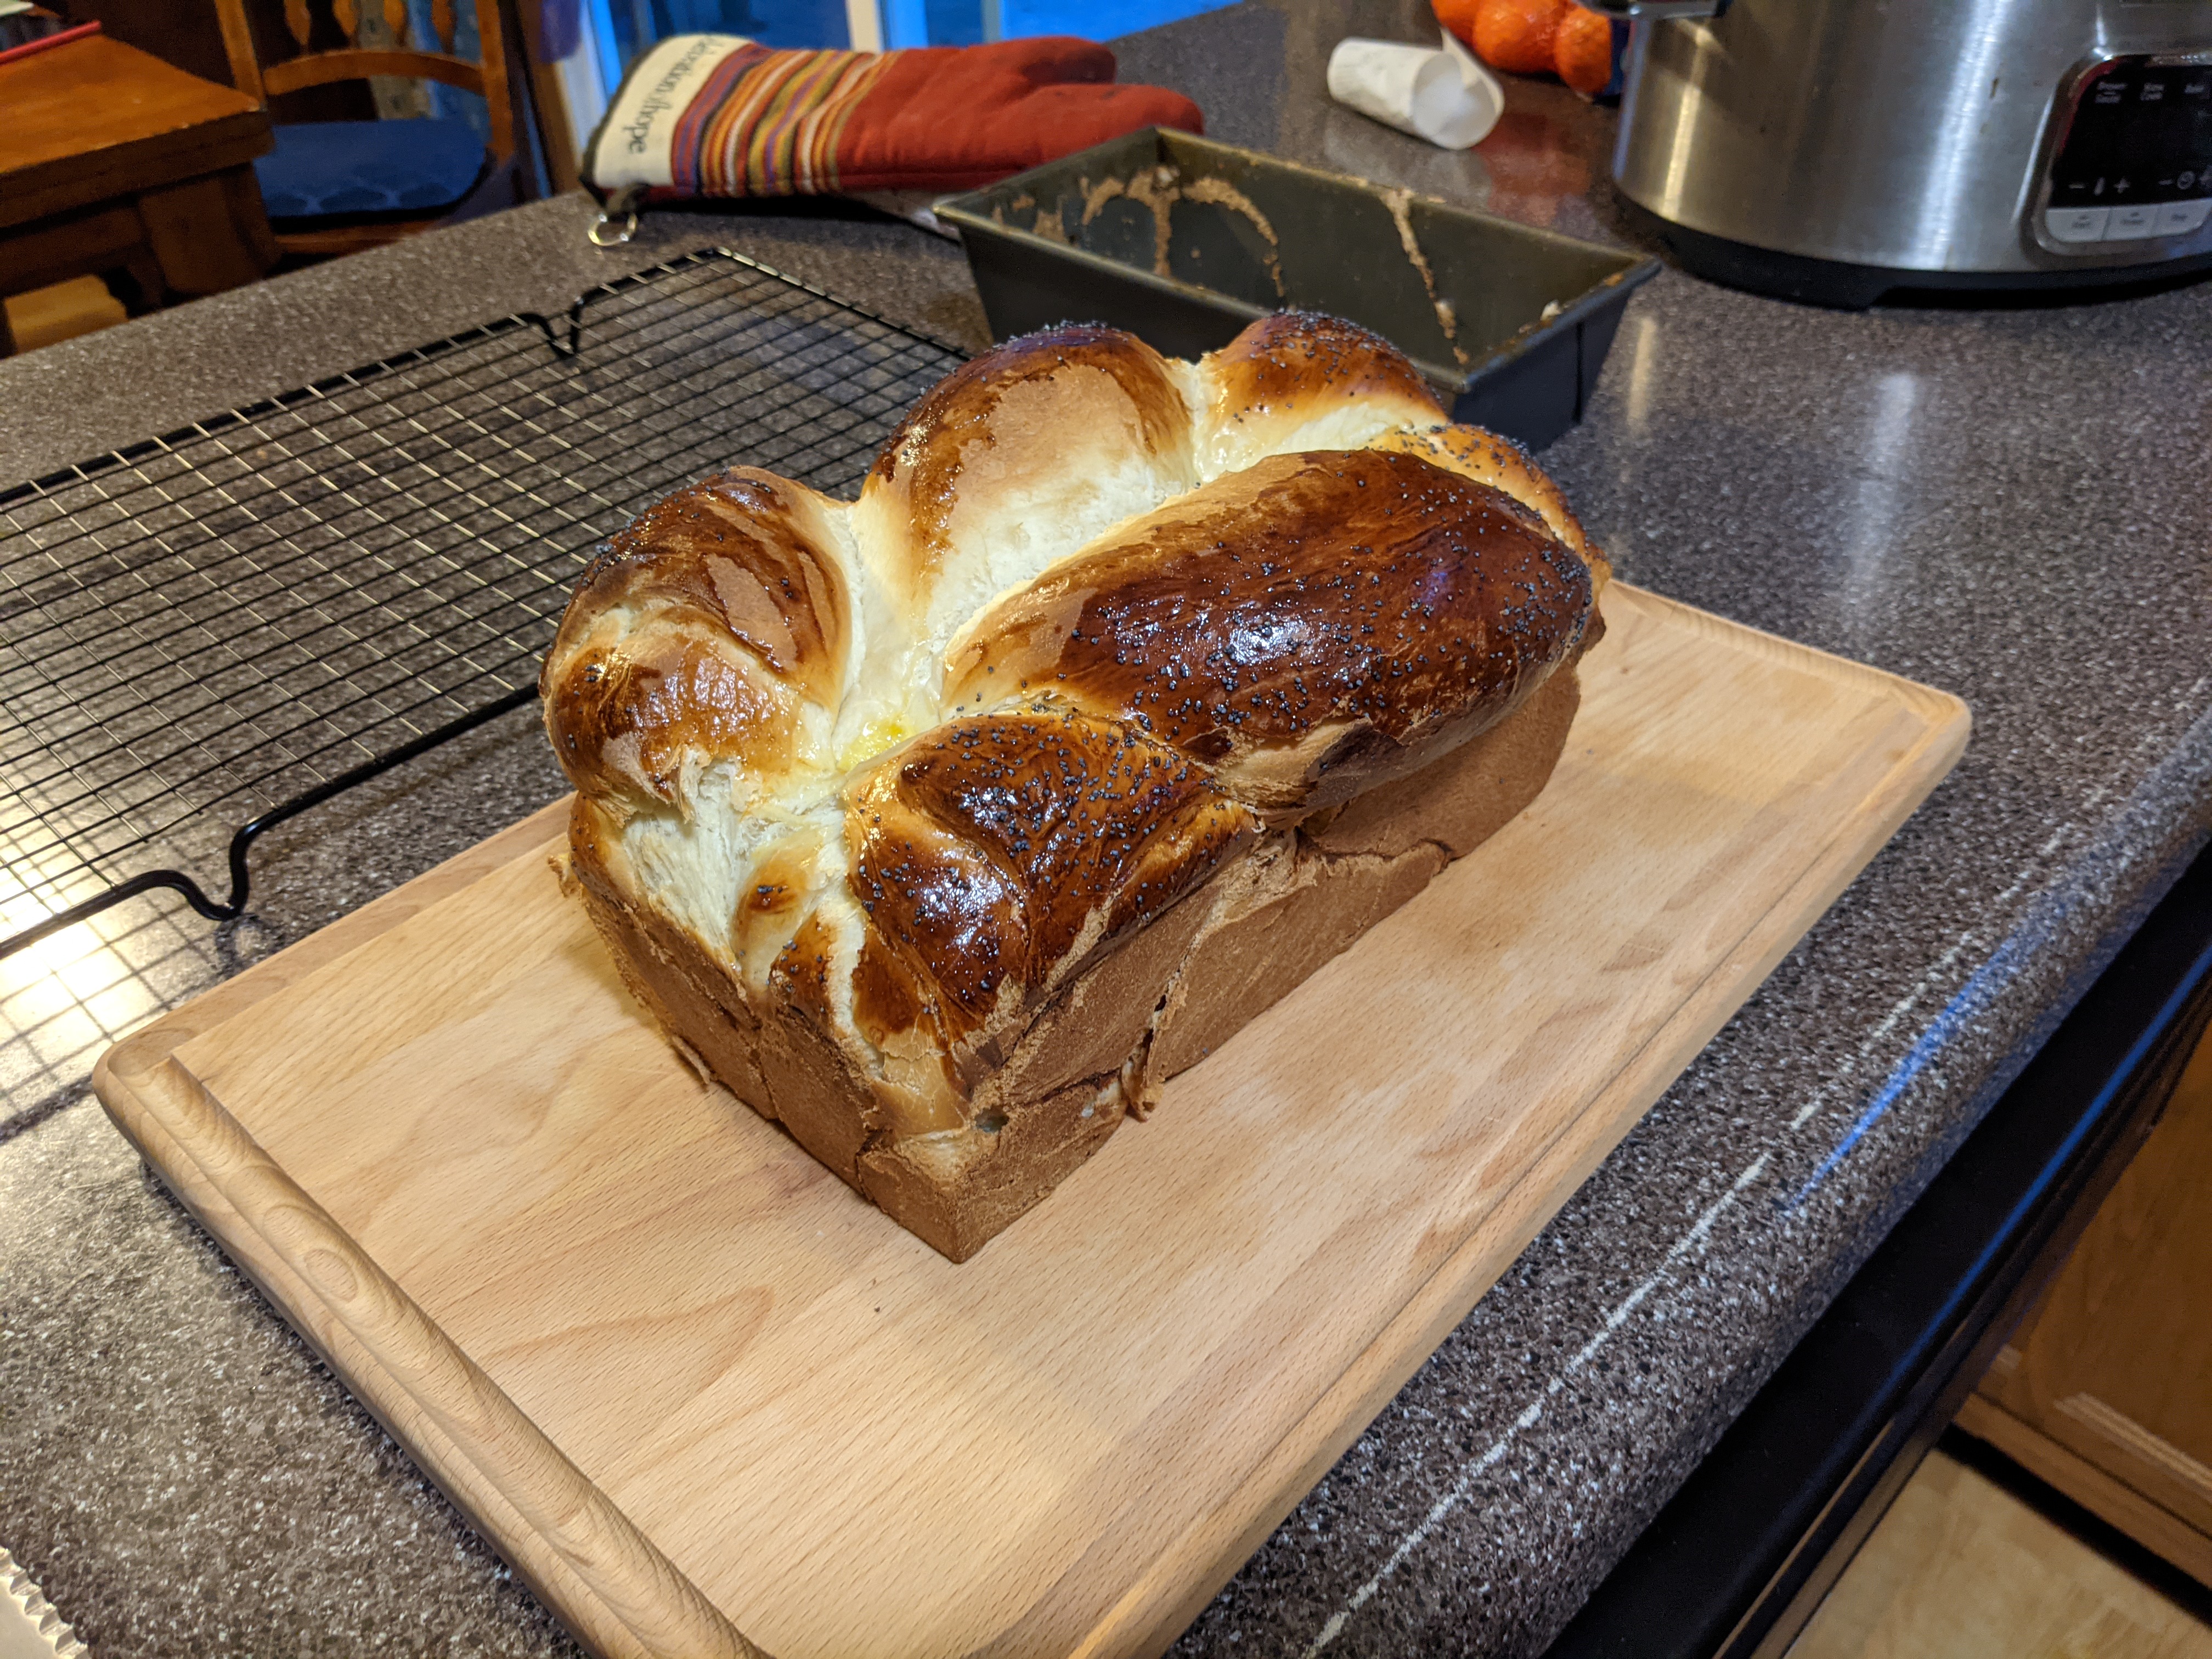
[and some]
Spider Wasp Labs is a collaborative space between two friends to showcase various projects that they have found time to work on. These projects span a range of topics, some of which include woodworking and baking. Check out the Projects page to see the rest.